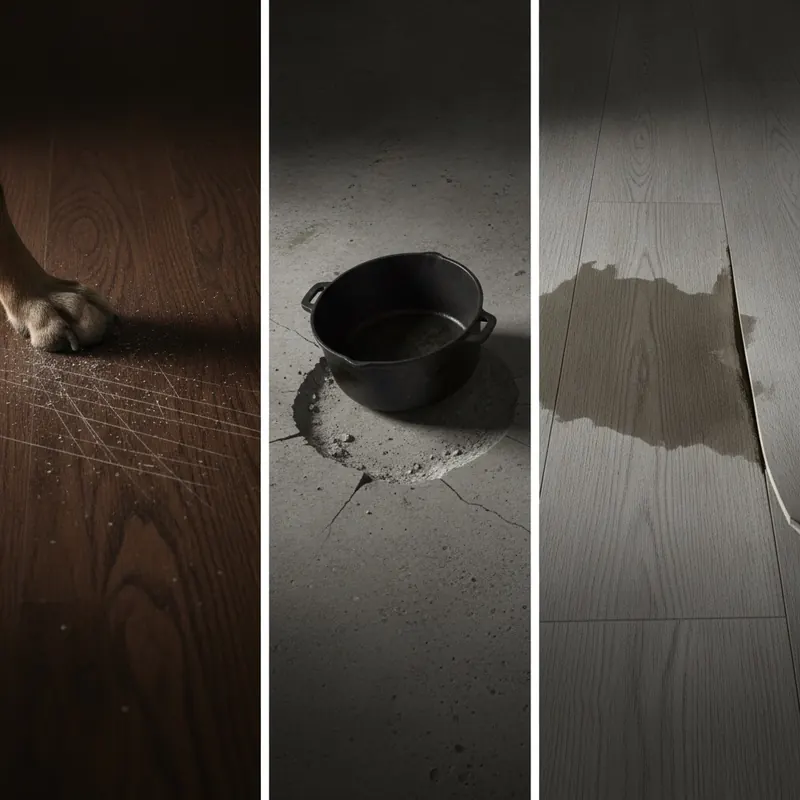
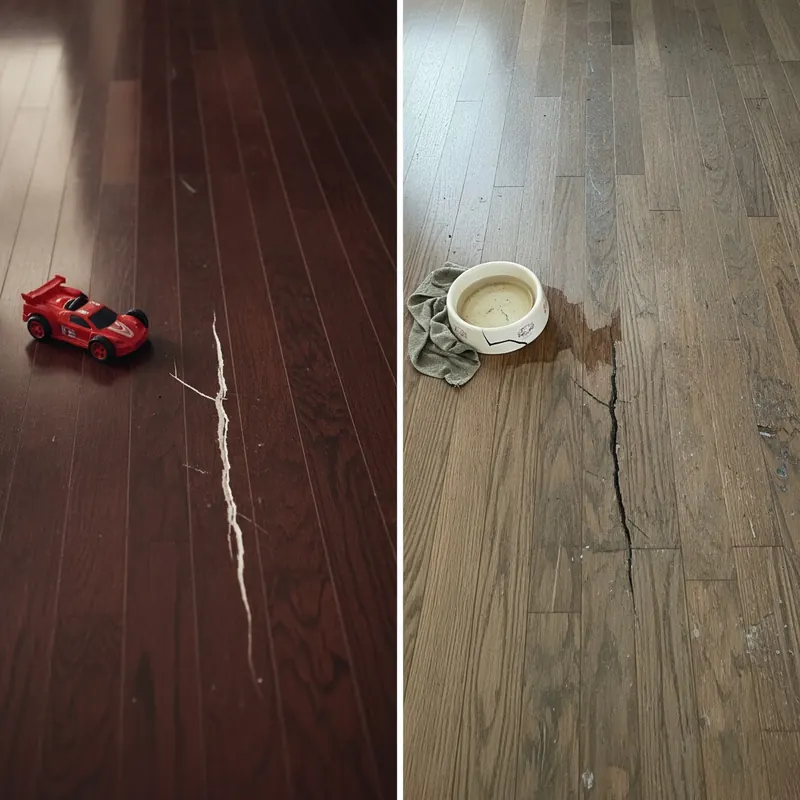
That subtle dip in the hallway. The spongy spot near the kitchen sink. The unnerving bounce when someone walks across the living room. These are more than minor annoyances; they’re signals from your home that something isn’t right. For many homeowners, the fear of a sagging floor points to a potential structural nightmare, while the frustration of temporary, superficial fixes can be overwhelming.
This is not another surface-level guide. This is your definitive blueprint to achieving a rock-solid floor for life. We will go beyond the finish layer you walk on to uncover the structural science of floor stability. We’ll empower you to move from uncertainty to confidence by diagnosing the true root cause of the problem, understanding the critical role of your subfloor, choosing the right long-term materials, and learning actionable, expert-backed repair steps. By the end of this guide, you’ll have the knowledge to protect your home’s value, safety, and comfort for years to come.
- Why Is My Floor Sagging? Diagnosing the Root Causes of Unstable Floors
- The Foundation of Stability: How to Reinforce Your Subfloor for a Lifetime
- Material Mastery: The Best Durable Flooring to Resist Sagging and Soft Spots
- DIY vs. Call a Pro: A Practical Decision-Making Guide
- Exploring Modern Solutions: Adamantine Flooring and Enduring Comfort Systems
- Conclusion: Your Path to a Stable, Comfortable Home
Why Is My Floor Sagging? Diagnosing the Root Causes of Unstable Floors
Before you can solve the problem, you must understand its origin. Sagging floors, soft spots, and unstable floorboards are almost always symptoms of a deeper issue within your home’s structure. By learning to identify the cause, you can choose the right solution and avoid costly, ineffective repairs.
A Structural Engineer’s Insight:
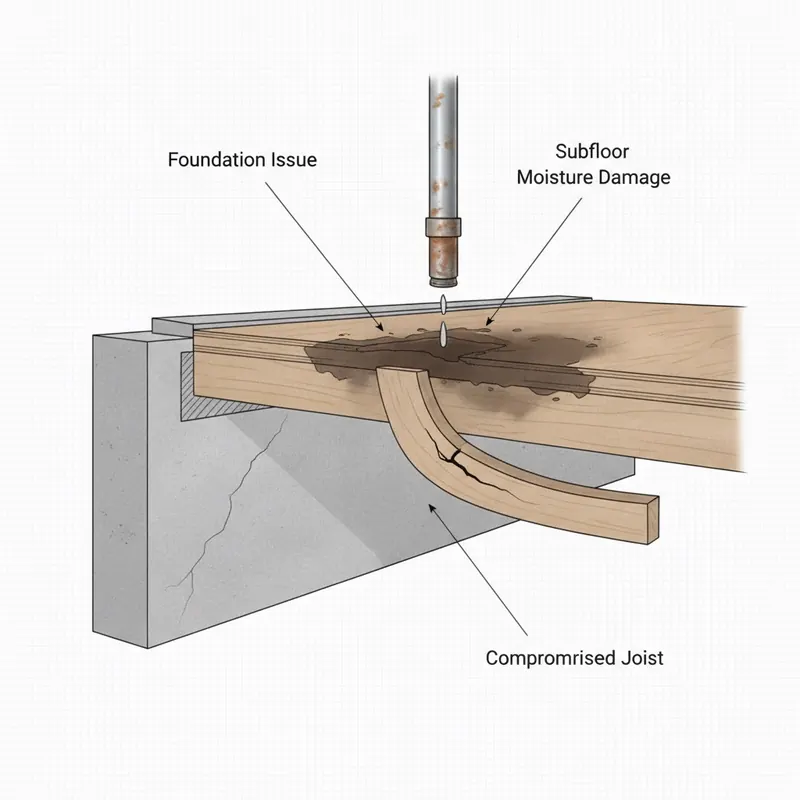
A floor system is designed to transfer the weight of everything in your home—furniture, appliances, people—down through the floor joists to the support beams and foundation. A structural engineer would explain that sagging is often a result of ‘creep,’ a process where joists slowly deform over decades under a constant load. This can be accelerated if the joists are too small for their span (the distance they cross without support), spaced too far apart, or have been damaged. According to common building codes, like the International Residential Code (IRC), there are strict tables that dictate the maximum allowable span for a joist of a certain size and wood species to prevent excessive deflection and sagging.
Problem #1: Compromised Joists and Support Beams
The floor joists are the skeleton of your floor. When they are compromised, the entire system weakens, leading to widespread sagging and bouncing. This is one of the most common sagging floor problems.
The primary culprits are often found in the basement or crawlspace:
- Undersized or Over-spanned Joists: The original builders may have used joists that are too small or spaced too far apart for the distance they need to cover. Over time, these joists will inevitably begin to sag under the home’s weight.
- Moisture and Rot: A plumbing leak, high crawlspace humidity, or flooding can saturate wood joists, leading to fungal rot that destroys the wood’s structural integrity.
- Termite or Pest Damage: Wood-boring insects can hollow out joists from the inside, leaving a thin shell that can no longer support any weight.
- Improper Alterations: A common issue in older homes is joists that have been cut or notched improperly to make way for plumbing, HVAC ducts, or electrical wiring, creating a critical weak point.
Homeowner’s Inspection Checklist:
- Look for visible sagging or bowing in the joists.
- Check for dark water stains, white or black moldy growth, or soft, spongy wood.
- Probe the wood with a screwdriver; if it sinks in easily, you likely have rot.
- Look for tunnels or “mud tubes” on the surface of wood, a classic sign of termites.
- Examine joists for large notches or holes, especially in the middle of their span.
Problem #2: Subfloor Failure and Moisture Damage
If the sagging or weakness is localized to a smaller area, creating distinct “soft spots under flooring,” the problem may lie with the subfloor. The subfloor is the layer of plywood or Oriented Strand Board (OSB) that sits directly on top of the joists. It creates the solid deck upon which your visible flooring is installed.
Moisture is the number one enemy of a subfloor. A slow leak from a dishwasher, a faulty toilet seal, or condensation from a poorly insulated crawlspace can saturate the wood panels. This causes the layers of glue within the plywood or OSB to break down, a process called delamination. The wood loses its rigidity and turns spongy, creating the soft spots you feel underfoot.
A flooring installation expert would emphasize that laying new flooring over a water damaged subfloor is a recipe for disaster. The new floor will quickly develop the same soft spots, and the trapped moisture can lead to mold growth and further structural decay. The significant cost of repairing extensive water damage makes prevention and immediate action on leaks absolutely critical.
Problem #3: Foundation and Sill Plate Issues
In some cases, sloping floors are a symptom of a much more serious issue with the home’s foundation. The sill plate—the wooden beam that sits directly on top of the concrete foundation wall and supports the floor joists—can rot away due to moisture, causing the entire floor frame to sink.
Alternatively, the foundation itself may be settling or sinking into the ground due to poor soil conditions or water erosion. This is a far more complex problem than simple joist or subfloor failure.
Red Flag List: When to Immediately Call a Structural Engineer
- You see large, diagonal cracks in your drywall, especially around door and window frames.
- Doors and windows stick or no longer close properly.
- There are visible cracks in the exterior brickwork or the concrete foundation wall itself.
- The floor slopes noticeably in one direction, causing objects to roll.
- The gap between your floor and baseboards is widening.
If you notice any of these signs, do not attempt a DIY fix. These are indicators of potential foundation problems that require immediate professional assessment to ensure the safety and stability of your entire home.
The Foundation of Stability: How to Reinforce Your Subfloor for a Lifetime
A beautiful, durable floor is only as good as the structure supporting it. Before choosing your final flooring material, ensuring your subfloor and joist system is rock-solid is the most important step. These techniques are the key to how to prevent soft spots in flooring and create a stable base that will last for decades.
Technique 1: Adding Joist Blocking or Bridging
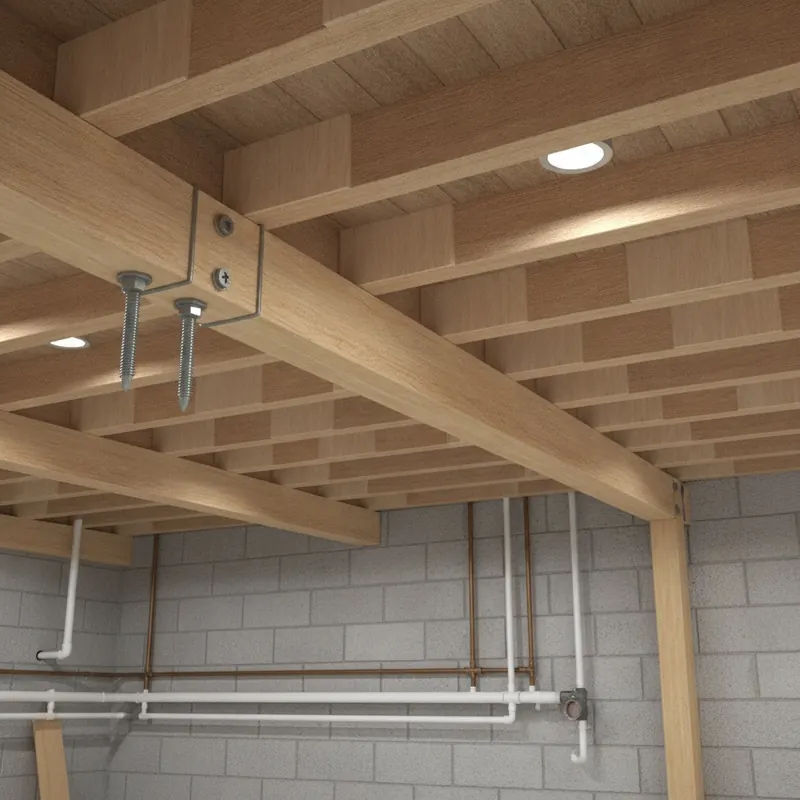
Floor joists can have a tendency to twist or roll slightly when weight is applied from above. This movement contributes to a bouncy, unstable feeling. Blocking or bridging solves this by tying the joists together, forcing them to act as a single, rigid system.
- Blocking: This involves cutting solid pieces of wood (the same dimension as the joists) and fitting them snugly in a staggered line between the joists down the center of the span.
- Bridging: This uses smaller pieces of wood or pre-made metal braces installed in a crisscross “X” pattern between the joists.
Both methods dramatically increase floor stability. According to best practices from organizations like the National Wood Flooring Association (NWFA), a properly supported subfloor is non-negotiable for a successful and long-lasting wood floor installation.
Pro Tip from a Carpenter:
When cutting blocks, set up a stop on your miter saw to make identical cuts quickly and efficiently. For a snug fit, cut them about 1/16th of an inch longer and tap them into place with a hammer. This ensures maximum rigidity.
Technique 2: Sistering Weak or Damaged Joists
For a joist that is sagging, cracked, or has been improperly cut, “sistering” is the go-to professional repair. This involves adding a new, straight joist directly alongside the damaged one and fastening them together securely. This effectively transfers the load to the new, strong joist, restoring the floor’s strength.
The new joist should be the same dimensional lumber as the old one and should span the full length from support to support if possible. The two are typically glued together with construction adhesive and then fastened with a specific pattern of structural screws or bolts.
Safety Warning: Never attempt to cut, remove, or sister a load-bearing joist without first properly supporting the weight of the floor above with temporary adjustable steel posts (lally columns) and a support beam. Failure to do so could result in a catastrophic collapse.
Technique 3: Installing a New Layer of Plywood Underlayment
If your existing subfloor is thin, weak, or has minor imperfections, adding a new layer of high-quality plywood underlayment is one of the best ways to create a truly stable flooring solution. This new layer stiffens the entire floor diaphragm, bridges small gaps between the old subfloor panels, and provides a perfectly flat, clean surface for your new flooring.
For best results, use plywood that is at least 1/2-inch thick (5/8-inch is even better). The sheets should be laid perpendicular to the direction of the floor joists and fastened with screws (not nails, which can back out over time) every 6-8 inches. It’s crucial to stagger the seams of the new layer so they don’t line up with the seams of the old subfloor below.
| Subfloor Material | Strengths | Weaknesses | Best Use Case |
|---|---|---|---|
| Plywood | High strength, holds fasteners well, more resistant to water damage due to cross-laminated glue layers. | More expensive than OSB. | Ideal for high-moisture areas like bathrooms and kitchens, or as a premium underlayment for maximum stability. |
| OSB | Less expensive, structurally uniform with no knots or soft spots. | Swells significantly when wet and does not regain its shape or strength after drying. | Suitable for dry, stable environments where budget is a primary concern. |
Material Mastery: The Best Durable Flooring to Resist Sagging and Soft Spots
Once your subfloor is sound, you can choose a flooring material that will contribute to a long-lasting, solid feel underfoot. Some materials are inherently more rigid and better at masking minor subfloor imperfections, while others are less forgiving.
| Flooring Type | Rigidity | Moisture Resistance | Comfort | Avg. Cost |
|---|---|---|---|---|
| Engineered Hardwood | High | Moderate to High | Good | $$$ |
| Rigid Core LVT/LVP | Very High | Excellent | Very Good | $$ |
| Ceramic/Porcelain Tile | Excellent | Excellent | Fair | $$$ |
| Solid Hardwood | Moderate | Low | Good | $$$$ |
| Laminate | Low to Moderate | Low to Moderate | Fair | $ |
Top Choice: Engineered Hardwood
Engineered hardwood is constructed with a top layer of real hardwood bonded to multiple layers of plywood stacked in alternating directions. A flooring manufacturer would explain that this cross-laminated construction makes the plank incredibly dimensionally stable. It is far less likely to warp, cup, or buckle due to changes in humidity compared to solid hardwood. This inherent stability makes it an excellent choice for a durable flooring surface that resists movement and maintains a solid feel.
High Performer: Luxury Vinyl Tile/Plank (LVT/LVP) with a Rigid Core
When searching for what is the most durable flooring for comfort and stability, rigid core LVP is a top contender. Unlike older, flexible vinyl, modern rigid core flooring has a dense, solid center. The two main types are:
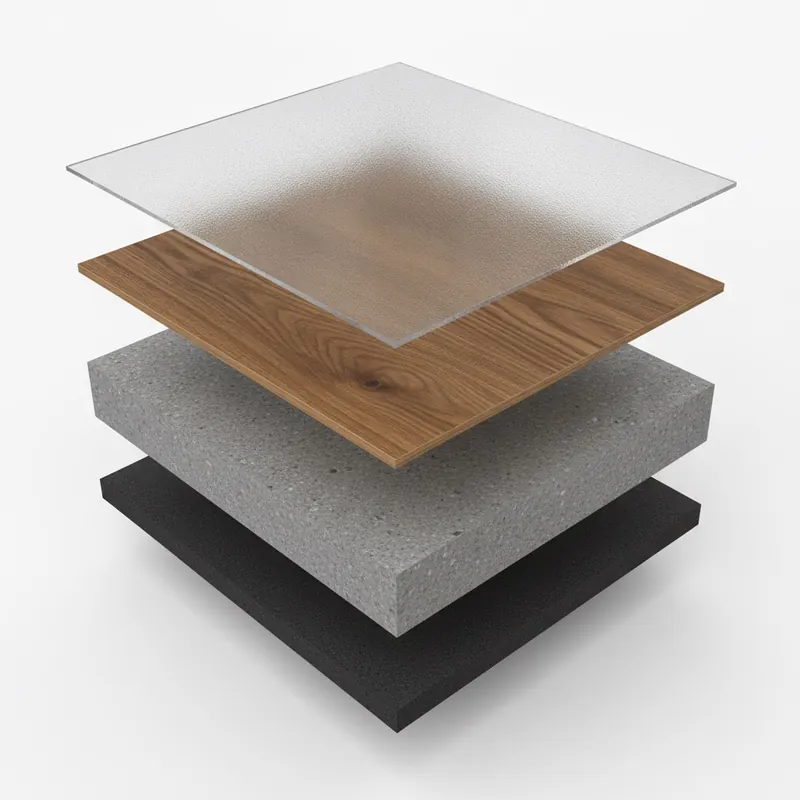
- SPC (Stone Plastic Composite): Made with a limestone composite core, SPC is extremely dense, rigid, and durable. It has fantastic indentation resistance and can bridge minor subfloor imperfections without flexing.
- WPC (Wood Plastic Composite): WPC incorporates wood pulp and foaming agents, making it slightly softer and more comfortable underfoot than SPC, while still offering excellent rigidity and waterproof performance.
This rigid core technology is what makes these floors feel so substantial and helps prevent any feeling of sponginess.
The Unyielding Option: Ceramic & Porcelain Tile
When installed correctly, tile is the ultimate no sag flooring option. It is an unyielding, incredibly hard surface. However, its success is 100% dependent on the structure beneath it. Tile has zero flexibility, so if the subfloor bounces or deflects even slightly, the tiles or grout lines will crack.
To prevent this, industry standards from the Tile Council of North America (TCNA) specify maximum subfloor deflection limits. Achieving this often requires reinforcing the joists and installing a layer of cement board or a decoupling membrane over the subfloor before the tile is laid. When done right, the result is a floor that feels like solid rock.
Flooring to Be Cautious With: Laminate and Solid Hardwood
While popular, these materials require more careful consideration for long-term stability.
- Laminate Flooring: Thinner, cheaper laminate floors can feel “clicky” and will easily reveal any unevenness in the subfloor. They can also be susceptible to moisture damage at the seams, which can cause swelling and buckling.
- Solid Hardwood: While beautiful, solid wood planks expand and contract significantly with changes in humidity. If not installed with proper expansion gaps or in a stable environment, they can buckle, warp, or develop gaps over time. They demand a perfectly flat and dry subfloor.
Use With Caution Advisory: For these materials to succeed, the subfloor must be exceptionally flat and dry, and the home’s interior climate must be consistently controlled.
DIY vs. Call a Pro: A Practical Decision-Making Guide
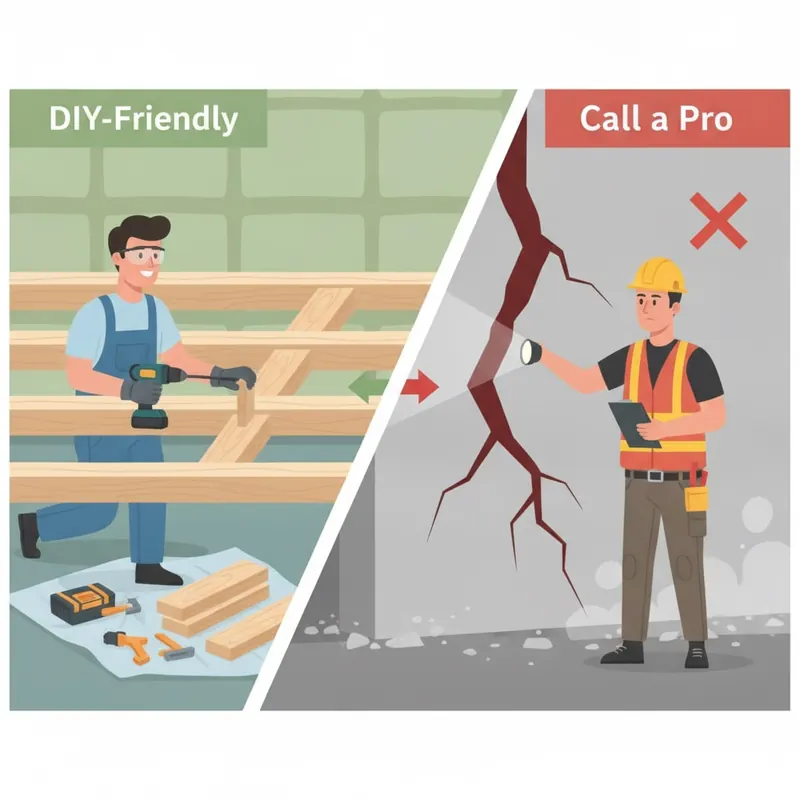
One of the biggest challenges for a homeowner is knowing when to tackle a fix sagging floor DIY project and when to call a structural engineer or contractor. Making the wrong choice can be costly and, in some cases, dangerous.
A general contractor might advise, “A small DIY repair might cost you a weekend and $100 in materials. But a failed DIY attempt on a major structural issue could cost you tens of thousands to fix, not to mention compromising your family’s safety. Knowing the difference is key.”
Green Light: DIY-Friendly Fixes
A competent DIYer with the right tools and safety knowledge can often handle these tasks:
- ✅ Securing a few squeaky or unstable floorboards with screws from below.
- ✅ Repairing a small, localized patch of subfloor (e.g., under a sink) after the leak has been permanently fixed and the area is completely dry.
- ✅ Installing most types of floating floors (like LVP or laminate) over a properly prepared subfloor.
- ✅ Adding joist blocking or bridging in an easily accessible crawlspace or basement.
Red Flag: When to Call a Professional Immediately
Do not attempt to fix these issues yourself. Call a qualified professional immediately if you observe:
- 🚩 Widespread sagging that affects an entire room or a large area.
- 🚩 Any of the foundation-related red flags mentioned earlier (drywall cracks, sticking doors, foundation cracks).
- 🚩 A floor that is noticeably bouncy, causing furniture to rattle when you walk by.
- 🚩 Any signs of extensive rot or an active termite infestation in your joists or beams.
- 🚩 The need to jack up a floor or alter any load-bearing joists or beams. This requires the expertise of a structural engineer or an experienced framing contractor.
Exploring Modern Solutions: Adamantine Flooring and Enduring Comfort Systems
You may come across terms like “Adamantine Flooring” or “Enduring Comfort Floors” in your search. It’s important to understand what these marketing terms typically represent. Rather than being entirely new categories of flooring, they are often brand names for product lines that emphasize durability and stability.
An analysis of “adamantine flooring reviews” and similar searches reveals that these products are usually high-end versions of the materials we’ve already discussed. For example, an “Adamantine” floor might be a premium SPC rigid core vinyl plank with an extra-thick wear layer and a high-density, waterproof core. An “Enduring Comfort” system might refer to a WPC plank with a thick, attached acoustic pad that provides both stability and a softer feel underfoot.
The key is to look past the marketing name and analyze the underlying technology. Connect the product’s features—like a stone-composite core or multi-ply construction—back to the core principles of rigidity and dimensional stability discussed in our Material Mastery section. This allows you to make an informed decision based on material science, not just a brand name.
Conclusion: Your Path to a Stable, Comfortable Home
A solid, stable floor is the foundation of a comfortable and secure home. It is an achievable goal that starts not with the flooring you see, but with the structure you don’t. By following the path laid out in this guide, you are now empowered to protect your most valuable asset.
Remember the three key steps to a floor that lasts a lifetime:
- Diagnose: Start by investigating the true root cause of the issue, looking beyond the surface to the joists and subfloor.
- Reinforce: Strengthen the underlying structure by adding blocking, sistering weak joists, or laying a new underlayment to create an unshakeable foundation.
- Choose: Select a flooring material with inherent rigidity and stability, like engineered hardwood or rigid core vinyl, that is appropriate for your home and lifestyle.
You no longer need to live with the uncertainty of a sagging floor or the annoyance of a soft spot. You now have the knowledge to ask the right questions, identify the real problems, and make confident, informed decisions that will ensure your home remains safe, valuable, and comfortable for many years to come.
Feeling more confident about tackling your flooring project? Share your biggest takeaway or ask a question in the comments below! For your next project, explore our guide to choosing the perfect underlayment.
This article provides general information and guidance. Serious structural issues like significant floor sagging should always be evaluated by a qualified structural engineer or professional contractor. Follow all local building codes and safety precautions when undertaking any DIY repairs.