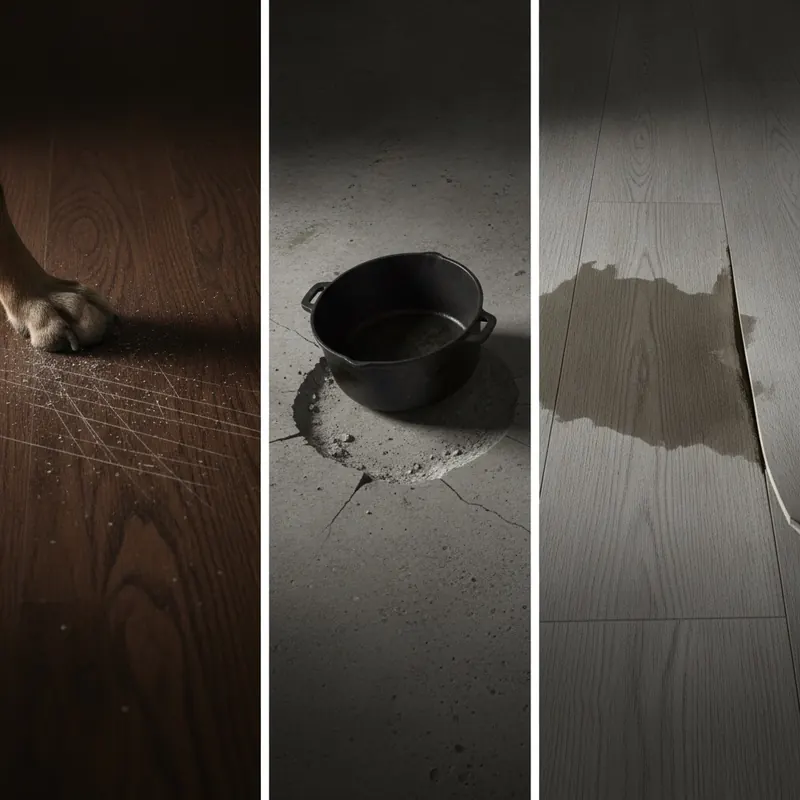
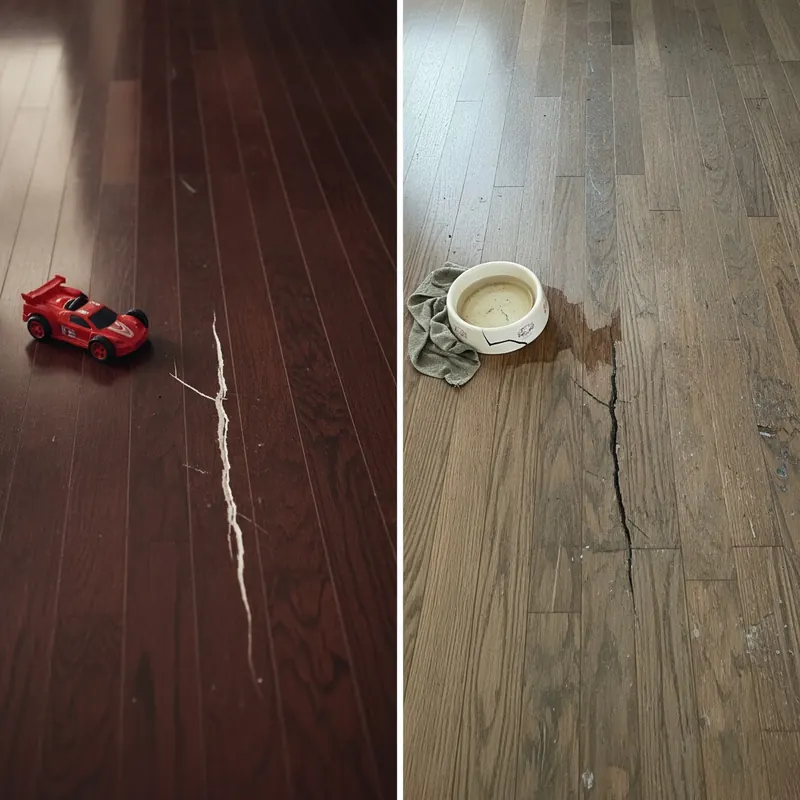
That heart-stopping clatter of a dropped cast-iron skillet. The sickening crunch of a heavy tool slipping from your grasp. The slow, creeping discovery of a hairline crack in a once-perfect floor tile. These moments are all too familiar, causing a surge of frustration and anxiety about the investment beneath our feet. Choosing a new floor can feel like a high-stakes gamble, while living with existing damage is a constant, unsightly reminder of one misstep.
You’re tired of the marketing jargon and endless options. You need a clear, comprehensive playbook that goes beyond simple “best of” lists. This is that guide. We’ll take you through the complete lifecycle of a durable floor—from understanding the science of what makes a surface truly tough, to selecting the perfect material for your high-impact life, to implementing professional-grade protection strategies. And for the damage that’s already done? We’ll empower you with proven, step-by-step DIY repairs to restore your floor and your peace of mind. It’s time to conquer floor damage for good.
- Understanding Impact Resistance: What Makes a Floor Truly ‘Drop-Proof’?
- The Ultimate Showdown: Ranking the Most Durable Flooring Options
- Flooring for High-Impact Zones: Tailored Recommendations
- Proactive Protection: How to Shield Your Floors from Damage
- The DIY Repair Clinic: Fixing Dents, Cracks, and Gouges
- When to Call a Pro: Is That Cracked Tile a Sign of Foundation Problems?
- Conclusion
- References
Understanding Impact Resistance: What Makes a Floor Truly ‘Drop-Proof’?
Before we can choose a durable floor, we need to understand what “impact resistant flooring” truly means. It’s not just about being hard; it’s a delicate balance of several key material properties that determine how a floor handles the sudden force of a falling object.

The science of a “drop-proof” floor boils down to three core concepts:
- Hardness: This is a material’s ability to resist surface-level damage like scratches, abrasions, and dents. For wood flooring, this is measured using the Janka hardness test, which determines the force required to embed a steel ball into the wood. For laminate flooring, an AC (Abrasion Class) rating from 1 to 5 indicates its durability against wear and tear. A harder surface is great against scratches, but it can also be brittle.
- Elasticity: This is the material’s ability to deform under stress (like an impact) and then return to its original shape without permanent damage. A floor with good elasticity, like rubber or vinyl, can absorb the energy of a dropped object by flexing slightly, which prevents denting. A material with low elasticity, like ceramic tile, is more likely to crack or shatter because it cannot flex.
- Shock Absorption: This property relates to how well a material dissipates the energy from an impact. Excellent shock absorbent flooring, like thick rubber, not only protects itself and the object that was dropped, but it also protects the crucial subfloor beneath it from damage. This quality is essential in environments like gyms or playrooms.
A truly impact-resistant floor isn’t necessarily the hardest one, but the one with the right combination of these properties for its intended use.
The Ultimate Showdown: Ranking the Most Durable Flooring Options
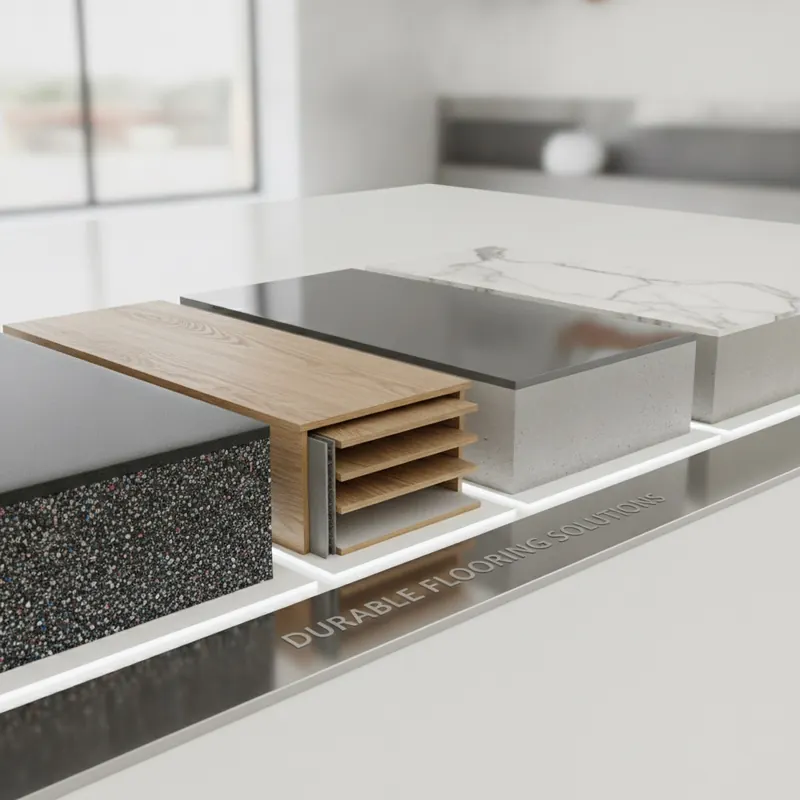
Now that we understand the science, let’s pit the top contenders against each other. To help you choose, we’ve evaluated each material not just on its initial durability but also on how easy it is to repair if damage does occur. Consider this your “Durability vs. Repairability” matrix.
1. Rubber Flooring: The Champion of Shock Absorption
Unmatched in its ability to absorb impact, rubber flooring is the go-to choice for environments where heavy objects are the norm. It’s the definition of shock absorbent flooring.
- Pros: Exceptional impact and shock absorption, protecting both the floor and dropped items. Highly durable and slip-resistant. Excellent for sound dampening.
- Cons: Can have a utilitarian aesthetic not suitable for all rooms. Some products have a distinct rubber odor, especially when new. Can be stained by oils and grease.
- Best For: Home gyms, workshops, playrooms, laundry rooms.
E-E-A-T Insight: The performance of surfaces is often measured by standards like ASTM F1292, the standard for playground surfacing, which quantifies a material’s ability to reduce impact forces and prevent injury.[1] The hardness of rubber is also measured by a durometer rating; a lower rating indicates a softer, more shock-absorbent material, while a higher rating signifies a tougher, more dent-resistant surface.
2. Luxury Vinyl Plank/Tile (LVP/LVT): The All-Around Contender
Modern luxury vinyl is a world away from the sheet vinyl of the past. High-quality LVP offers a fantastic blend of durability, water resistance, and aesthetic appeal, making it a leading choice for busy households.
- Pros: Highly resistant to scratches, scuffs, and water. The elastic surface helps it resist denting from most common household drops. Available in a vast range of realistic wood and stone looks. Easy to clean and maintain.
- Cons: Can be punctured by extremely sharp objects. Lower-quality vinyl with a thin wear layer can dent and scratch more easily. Not as prestigious as real hardwood.
- Best For: Kitchens, bathrooms, basements, entryways, and homes with kids and pets.
E-E-A-T Insight: The key to LVP’s durability is its wear layer. Look for a wear layer of at least 12 mil (thousandths of an inch) for moderate residential traffic and 20 mil or more for heavy traffic areas. This thick, clear topcoat is what provides the primary defense against scratches and scuffs.
3. Epoxy & Polyaspartic Coatings: The Seamless Protector
For the ultimate in heavy-duty surface protection, especially over concrete, a professional-grade coating is hard to beat. These resinous coatings create a thick, seamless, and incredibly hard shell.
- Pros: Forms a monolithic, non-porous surface that is extremely resistant to impacts, abrasion, chemicals, and hot-tire pickup. Easy to clean.
- Cons: The surface can be slippery when wet unless a non-slip aggregate is added. Professional installation is highly recommended for best results, as improper surface preparation is the number one cause of failure.
- Best For: Garages, workshops, basements, commercial spaces.
E-E-A-T Insight: When evaluating epoxy systems, look at the manufacturer’s technical data sheet (TDS). This will provide objective data on metrics like compressive strength (its ability to withstand heavy loads) and abrasion resistance. A professional installer will always start by diamond grinding the concrete to create the ideal profile for the coating to bond to, ensuring maximum durability.
4. Porcelain & Ceramic Tile: The Hardness King (with a Catch)
When it comes to surface hardness, porcelain tile is in a class of its own. It is incredibly difficult to scratch and holds up beautifully to heavy foot traffic.
- Pros: Extremely scratch, stain, and water-resistant. Very easy to clean and requires minimal maintenance.
- Cons: Its hardness is also its weakness. Tile is brittle and can crack or chip if a heavy, sharp object is dropped on it. The grout lines can be difficult to clean and may require periodic sealing.
- Best For: Kitchens, bathrooms, entryways, and high-traffic areas.
E-E-A-T Insight: Tile durability is often graded using the PEI (Porcelain Enamel Institute) rating, which ranges from 1 (light residential) to 5 (heavy commercial). For most home flooring, a PEI rating of 3 or 4 is ideal. The Tile Council of North America (TCNA) emphasizes that the leading cause of cracked tiles is not impact, but an improperly prepared subfloor that flexes underneath the tile.[2] A rigid, stable subfloor is non-negotiable for a long-lasting tile installation.
5. Hardwood & Engineered Wood: Classic Beauty, Vulnerable to Dents
The timeless appeal of hardwood is undeniable, but it is one of the most susceptible materials to impact damage, specifically denting.
- Pros: Beautiful and adds significant value to a home. Can be sanded and refinished multiple times to erase surface damage.
- Cons: Prone to denting from dropped objects. Can be scratched easily by pets or furniture. Susceptible to water damage.
- Best For: Living rooms, dining rooms, bedrooms.
E-E-A-T Insight: The Janka hardness scale is the definitive measure of a wood species’ resistance to denting. A higher number indicates a harder, more dent-resistant wood. For example:
- Douglas Fir: 660
- Red Oak (Industry Benchmark): 1290
- Hickory: 1820
- Brazilian Walnut (Ipe): 3680
The National Wood Flooring Association (NWFA) provides extensive guidelines on the care and maintenance of wood floors to help minimize damage over their lifespan.[3]
Flooring for High-Impact Zones: Tailored Recommendations
Choosing the right material often depends on the specific challenges of the room. Here’s how to select the best impact-resistant flooring for the toughest areas of your home.
For the Home Gym: Prioritizing Shock & Subfloor Protection
In a home gym, the floor must protect your subfloor from dropped weights, reduce noise, and provide stable footing.
- Top Recommendation: Thick (8mm or 3/8-inch) interlocking rubber tiles or rolled rubber flooring. This provides the necessary shock absorption to prevent damage to a concrete or wood subfloor.
- Budget Option: Horse stall mats, available at farm supply stores, are a dense, heavy-duty, and cost-effective alternative, though they often have a stronger initial odor.
- Key Consideration: The National Strength and Conditioning Association (NSCA) highlights that a proper gym floor surface is a critical component of a safe training environment, helping to reduce the risk of injury and protect equipment.[4] A certified personal trainer would add that a floor with good shock absorption also helps reduce the cumulative stress on your joints during high-impact exercises.
For the Kitchen: Resisting Dropped Pots, Pans, and Spills
The kitchen is a minefield of dropped cans, heavy pans, and sharp utensils. The flooring here needs to be tough, water-resistant, and easy to clean.
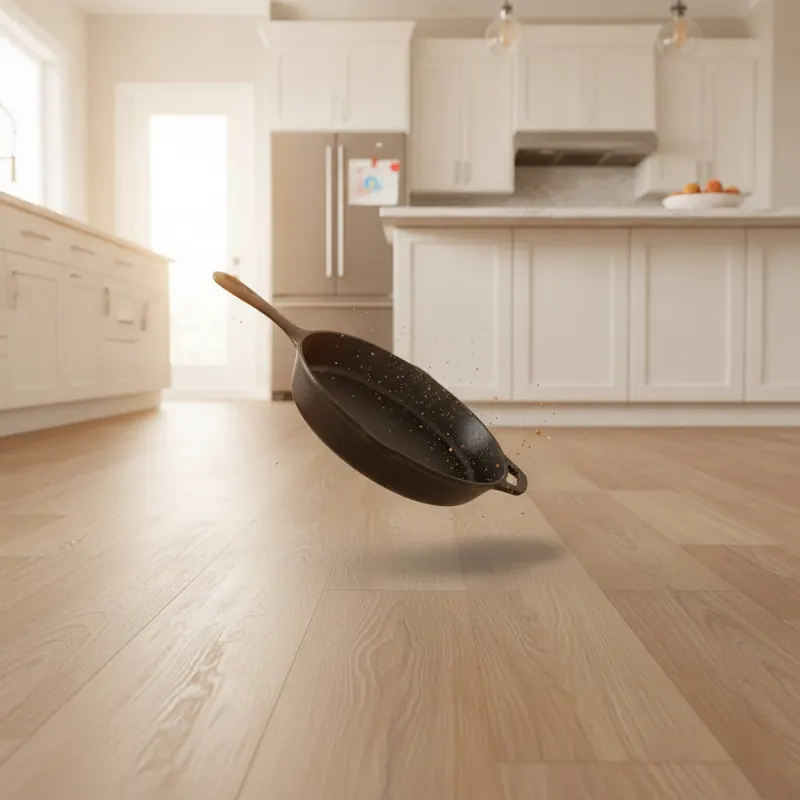
- Top Recommendation: High-quality Luxury Vinyl Plank (LVP) with a 20 mil wear layer. It offers the best balance of dent resistance, water protection, and comfort underfoot.
- Alternative: Porcelain tile (PEI rating 4) is a great choice for scratch resistance, but be mindful of its tendency to crack from sharp impacts.
- Practical Tip: Place anti-fatigue mats in high-activity “drop zones”—in front of the sink, stove, and primary prep area. These not only provide comfort but also act as a cushioned landing pad for dropped items, potentially saving both your floor and your cookware.
For the Garage & Workshop: Withstanding Tools, Chemicals, and Vehicles
This is the ultimate heavy-duty environment. The floor must withstand dropped tools, chemical spills, and the weight of vehicles.
- Top Recommendation: Professionally installed multi-coat epoxy or polyaspartic floor coating. This creates a seamless, incredibly durable surface that bonds directly with the concrete.
- DIY-Friendly Option: Interlocking PVC tiles. These are thick, durable, and can be installed over less-than-perfect concrete. If one tile gets damaged, it can be easily replaced.
- E-E-A-T Insight: When considering flooring for a work area, guidelines from the Occupational Safety and Health Administration (OSHA) for commercial spaces can provide valuable insights for home workshops, emphasizing clean, dry, and stable surfaces to prevent slips, trips, and falls.[5]
Proactive Protection: How to Shield Your Floors from Damage
The best defense is a good offense. Whether your floors are brand new or decades old, these strategies can help you preserve them.
Temporary Shields: Your Guide to Construction and Moving Protection
During high-risk events like a renovation or moving day, temporary protection is a must.
- For Construction & Painting: Use a heavy-duty, breathable paperboard product like Ram Board. It resists spills and impacts and allows floors to breathe, which is crucial for newly finished wood or curing concrete. Avoid plastic sheeting on wood floors for extended periods, as it can trap moisture.
- For Moving: Place furniture sliders under the legs of all heavy items. Lay down clean moving blankets or cardboard in main pathways to protect against dropped items and grit from shoes. Professional moving associations consistently recommend clearing and protecting all pathways as a first step to a damage-free move.
Checklist for Choosing Protection:
- Project Type: Is it a messy, wet project (painting, drywall) or a high-impact project (moving, construction)?
- Floor Type: Is it a sensitive surface like hardwood or a durable one like concrete?
- Duration: Will the protection be down for a day or several weeks?
Permanent Defenses: Protective Coatings and Everyday Habits
Long-term protection comes from the right finishes and simple, consistent habits.
- Renewable Finishes: For hardwood floors, a robust finish is the first line of defense. Floor finishing authorities like Bona and Minwax recommend applying a fresh maintenance coat of polyurethane every 3-5 years in high-traffic areas to keep the protective layer intact.[6]
- Furniture Pads: This is the single most effective and inexpensive way to prevent scratches and dents.
- For Chairs & Light Furniture: Use felt pads. Choose high-quality, dense felt that can be stuck on or tapped in.
- For Heavy Sofas & Tables: Use hard plastic or rubber sliders. These distribute the weight more effectively and prevent the “denting” that can occur even with felt pads.
- For Rolling Chairs: Place a polycarbonate chair mat over the floor. The hard surface prevents the chair’s casters from grinding grit into the floor finish.
The DIY Repair Clinic: Fixing Dents, Cracks, and Gouges
When damage inevitably happens, don’t despair. Many common impact-related issues can be fixed with a little patience and the right technique.
How to Fix Dented Hardwood Floors: 3 Methods for Every Severity
Dents in wood floors are compressions of the wood fibers. For minor dents, you can often encourage those fibers to swell back to their original shape.
What NOT to Do: Avoid using all-in-one “stain and finish” markers on dents; they only color the surface and don’t fix the depression. Never sand a single dent, as this will create a noticeable dip in the floor’s finish.
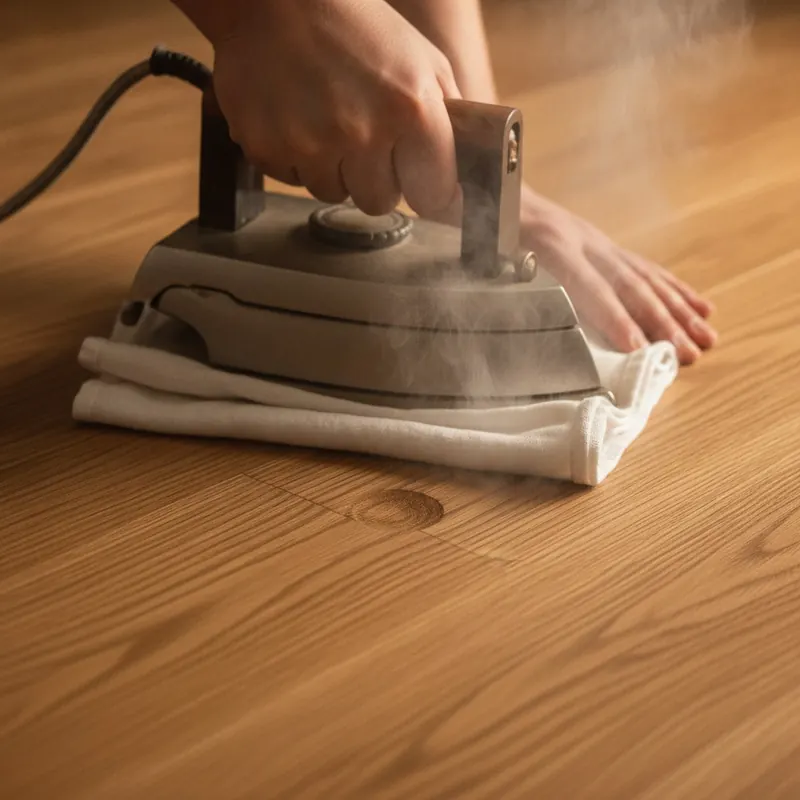
Method 1: The Steam & Iron Trick for Minor Dents
This method works because the moisture and heat cause the compressed wood fibers to expand. It’s surprisingly effective for shallow dents where the wood fibers aren’t broken.
Tools & Materials:
- Clothes iron
- Clean, thick cloth (like a t-shirt)
- Small cup of water
- Fine-grit sandpaper (220-grit)
Steps:
- Clean the Area: Ensure the dent is free of dirt and debris.
- Apply Water: Place a few drops of water directly into the dent, just enough to cover it.
- Apply Heat: Place the damp cloth over the dent. Set your iron to its highest setting (with steam on) and press it firmly onto the cloth over the dent. Move the iron in a circular motion for 30-60 seconds. Be careful not to let the iron sit in one spot, as it could scorch the wood.
- Check and Repeat: Lift the iron and cloth. The wood fibers should have swollen. The dent may be gone or significantly reduced. You can repeat the process 2-3 times for stubborn dents, letting the wood dry in between.
- Light Sand & Finish (Optional): If the process raised the wood grain slightly, lightly sand the spot with 220-grit sandpaper and touch up with a matching finish if needed.
Method 2: Using Wood Filler for Deep Gouges
For deep dents or gouges where wood fibers are torn, filler is the best option.
Tools & Materials:
- Stainable wood filler that matches your floor
- Flexible putty knife
- Fine-grit sandpaper
- Painter’s tape
- Matching wood stain and polyurethane finish
Steps:
- Clean and Prep: Clean the gouge thoroughly. Tape off the area around the damage to protect the surrounding floor.
- Apply Filler: Using the putty knife, press the wood filler firmly into the gouge. Overfill it slightly, as filler can shrink as it dries.
- Scrape and Dry: Scrape the putty knife across the surface to remove excess filler. Let it dry completely according to the manufacturer’s instructions (often several hours).
- Sand Smooth: Once dry, sand the filled area flush with the rest of the floor.
- Stain and Seal: Use a small artist’s brush to apply a matching stain to the filler. Once the stain is dry, apply a thin coat of polyurethane to seal the repair.
How to Repair a Single Cracked Floor Tile
Replacing a single tile is much less daunting than it sounds and can save an entire floor.
Tools & Materials:
- Safety glasses and gloves
- Grout removal tool (manual or oscillating)
- Hammer and chisel (or small pry bar)
- Shop vacuum
- Replacement tile
- Thinset mortar and notched trowel
- Grout that matches the existing color
- Sponge and bucket
Steps:
- Safety First: Put on your safety glasses and gloves. Breaking tile can send sharp shards flying.
- Remove the Grout: Use the grout removal tool to carefully scrape out all the grout from around the cracked tile. This isolates the tile and prevents you from damaging its neighbors.
- Break and Remove the Tile: Cover the tile with a thick cloth. Gently tap the center of the tile with a hammer until it breaks into smaller pieces. Use the chisel and hammer to carefully pry out the broken pieces.
- Clean the Subfloor: Vacuum up all debris and scrape away any old, dried mortar from the subfloor, creating a clean, level surface.
- Set the New Tile: Following the TCNA Handbook guidelines, mix a small batch of thinset mortar. Apply it to the subfloor with the notched trowel, creating ridges. Firmly press the new tile into place, ensuring it is level with the surrounding tiles.
- Grout the Tile: After the mortar has cured (usually 24 hours), mix your grout and apply it to the joints around the new tile. Press it in with a grout float.
- Clean Up: After about 20-30 minutes, use a damp sponge to wipe the excess grout off the face of the tile. Allow the grout to cure completely as directed.
When to Call a Pro: Is That Cracked Tile a Sign of Foundation Problems?
While a single cracked tile is often from a dropped object, sometimes it can be a symptom of a much larger issue. Knowing the difference is crucial.
Signs Your Cracked Tile is a Bigger Problem:
- Multiple Cracks: You have cracks appearing on several tiles, especially if they form a line across the room.
- Cracks on Walls: The crack in the floor tile corresponds with a crack in the drywall on the wall above or below it.
- “Tenting” or “Hollow” Tiles: The tiles next to the cracked one sound hollow when you tap them, or they are pushing up to form a small ridge.
- Doors Sticking: Doors near the cracked tile have recently started to stick or won’t close properly.
- Visible Foundation Cracks: You can see cracks on the exterior foundation wall or interior basement wall in the same area.
Ask the Expert: A structural engineer or certified home inspector would advise that a single, isolated crack is rarely a concern. However, if you see a crack that continues across multiple tiles and seems to follow the path of a floor joist, or if you notice any of the corresponding signs like sticking doors, it’s time for a professional evaluation. This could indicate subfloor deflection, joist issues, or even foundation settlement, and a DIY repair won’t solve the underlying cause.
Conclusion
A durable, beautiful floor is the foundation of your home, and you now have the complete playbook to make it last. We’ve moved from selection to salvation, showing you how to choose the right impact-resistant material for your lifestyle, how to use proactive protection to preserve that investment, and how to confidently tackle common repairs yourself. By understanding the balance of hardness and elasticity, tailoring your choice to high-impact zones, and knowing the difference between a simple fix and a serious problem, you are fully empowered to conquer floor damage and enjoy the peace of mind that comes with a truly resilient floor.
Feeling more confident about your floors? Share your biggest flooring challenge or success story in the comments below, or explore our related guides on floor maintenance and installation.
This article provides DIY repair advice. Always follow manufacturer instructions and safety precautions, including wearing appropriate personal protective equipment (PPE). For complex issues or potential structural problems, consult a qualified professional. This post may contain affiliate links.
References
- ASTM International. (n.d.). ASTM F1292 – 22 Standard Specification for Impact Attenuation of Surfacing Materials Within the Use Zone of Playground Equipment. Retrieved from the official ASTM International website.
- Tile Council of North America. (n.d.). TCNA Handbook for Ceramic, Glass, and Stone Tile Installation. Retrieved from the official Tile Council of North America website.
- National Wood Flooring Association. (n.d.). Wood Floor Maintenance Guidelines. Retrieved from the official NWFA consumer resources website.
- National Strength and Conditioning Association. (n.d.). Safety in the Weight Room. Retrieved from the official NSCA resources or publication archives.
- Occupational Safety and Health Administration. (n.d.). Walking-Working Surfaces – 29 CFR 1910.22. Retrieved from the official OSHA website.
- Bona / Minwax. (n.d.). Product technical data sheets and application guides for floor finishes. Retrieved from the respective official manufacturer websites.