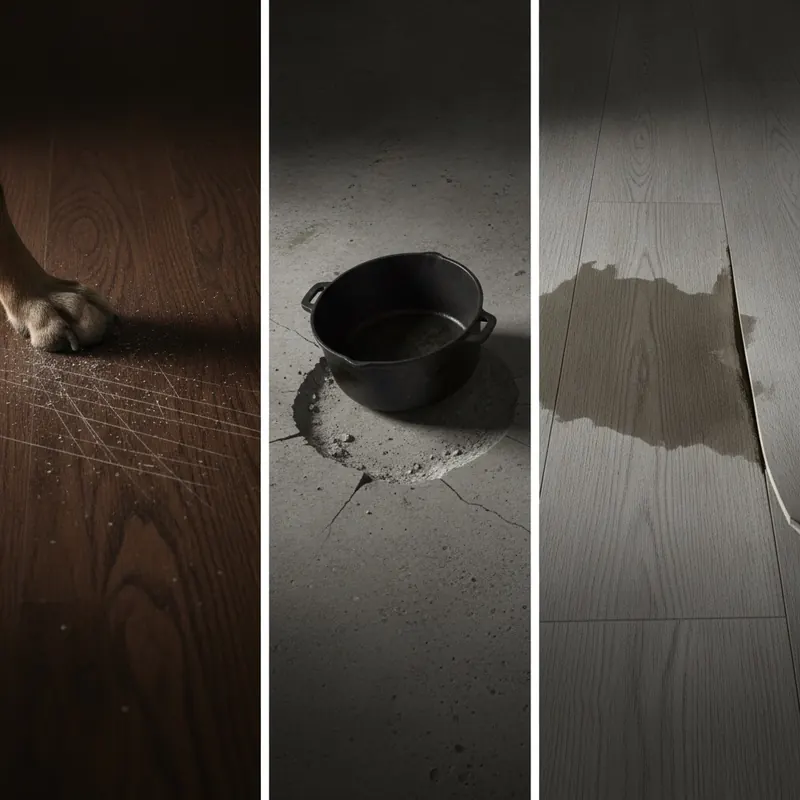
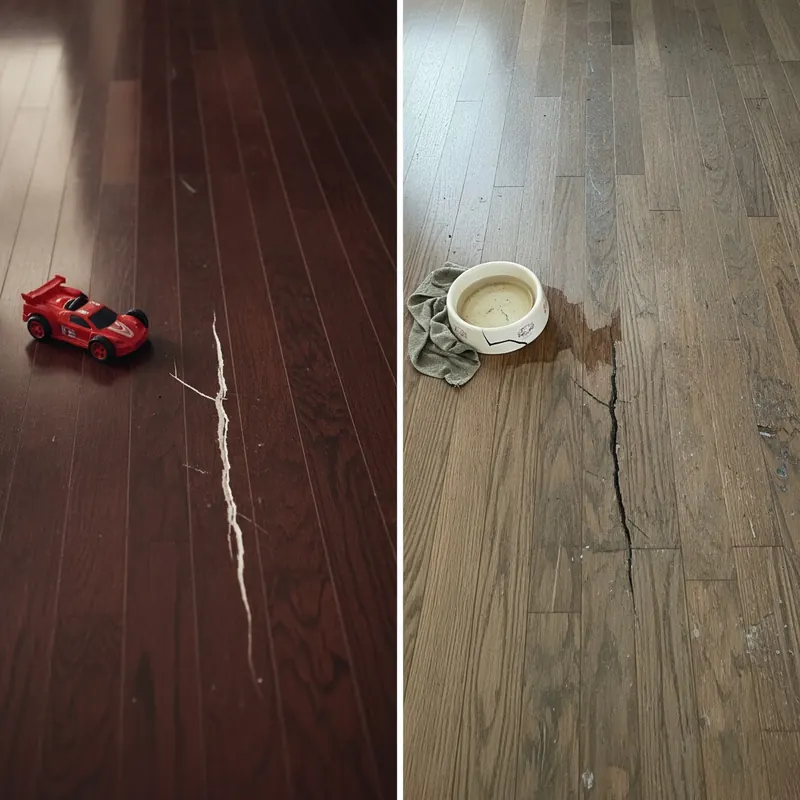
A home renovation is a journey of excitement and transformation. But beneath the thrill of new kitchens and updated bathrooms lies a deep-seated anxiety for every homeowner: the potential for catastrophic damage to your beautiful, expensive floors. The fine dust, the heavy tools, the constant foot traffic—it’s a perfect storm that can turn a pristine investment into a landscape of scratches, gouges, and costly repairs.
You’ve invested not just money, but pride in your flooring. The thought of it being ruined by a dropped hammer or a careless paint spill is enough to keep anyone up at night. But what if you could enter your renovation not with fear, but with confidence?
This is your fortress. This guide is a complete playbook for protecting your floors before, during, and after a renovation. We go beyond a simple list of products to provide a full lifecycle strategy. We will arm you with contractor-proof prevention techniques, foolproof repair guides for when accidents happen, and the contractual knowledge to ensure your flooring investment remains pristine.
Here’s how we’ll build your defense plan:
- Understand the Enemy: We’ll dissect the most common types of renovation floor damage and when they occur.
- Build Your Blueprint: Learn the critical pre-renovation steps for documentation and contractor negotiation.
- Choose Your Armor: Get a definitive, head-to-head comparison of the best temporary floor coverings.
- Master Damage Control: Follow our step-by-step “Scratch Triage” guide to fix minor damage like a pro.
- Ensure Accountability: Learn how to conduct a final walkthrough that protects your rights and your wallet.
Let’s ensure the only thing your renovation leaves behind are beautiful new spaces, not a bill for floor replacement.
- The Anatomy of Renovation Floor Damage: Understanding the Risks
- Phase 1: Your Pre-Renovation Blueprint for Floor Protection
- Phase 2: Choosing Your Armor – The Best Temporary Floor Coverings for Construction
- Case Study: The Multi-Layer Defense for Adamantine & Luxury Flooring
- Phase 3: Damage Control – Your Scratch Triage & Repair Guide
- The Final Walkthrough: Holding Contractors Accountable
- Your Floors, Your Fortress
- References
The Anatomy of Renovation Floor Damage: Understanding the Risks
Before you can protect your floors, you must understand the threats. Renovation floor damage isn’t a single event; it’s a series of risks that evolve with each phase of the project. From demolition to the final touch-ups, your floors are under constant assault.

As one IICRC-certified restoration specialist notes, “The most frequent and costly damages we see aren’t from a single major accident, but from the cumulative effect of inadequate protection. It’s the thousands of tiny scratches from drywall dust acting like sandpaper under work boots that dull a finish, or the slow moisture creep from a seemingly minor spill under a plastic sheet.”
Here’s a look at the common culprits at each stage of construction:
- Demolition Dangers (Impacts and Gouges): This is the brute force phase. Falling debris, heavy crowbars, and discarded materials can easily cause deep gouges, chips, and cracks that often require professional repair or full plank replacement.
- Drywall Dust Damage (Abrasion): The fine, gritty dust from sanding drywall is a floor’s worst enemy. When ground underfoot, it acts like aggressive sandpaper, causing micro-scratches that permanently dull the floor’s finish, especially on high-gloss surfaces.
- Paint & Stain Spills (Chemical Damage): Drips and spills are inevitable. Solvents, paints, stains, and adhesives can seep through inadequate coverings, leading to permanent discoloration. Some harsh chemicals can even eat away at the floor’s protective wear layer.
- Final Phase Scratches (Dragging and Dropping): As the project wraps up, the risk of scratches skyrockets. Ladders are moved, heavy appliances are installed, and furniture is brought back in. A single unprotected drag of a refrigerator can leave a deep, unsightly scratch across your brand-new floor.
Phase 1: Your Pre-Renovation Blueprint for Floor Protection
The strongest defense is a proactive one. Before a single hammer swings, taking a few critical planning steps can save you thousands of dollars and immense frustration. This is where you establish expectations and create a safety net for your investment.
A seasoned construction project manager emphasizes, “A homeowner should never assume floor protection is standard. A detailed floor protection plan should be a non-negotiable part of the contract. Specify the types of materials to be used and the areas to be covered. If it’s not in writing, it doesn’t exist.”
Your pre-renovation blueprint involves two key actions: documenting everything and amending your contract.
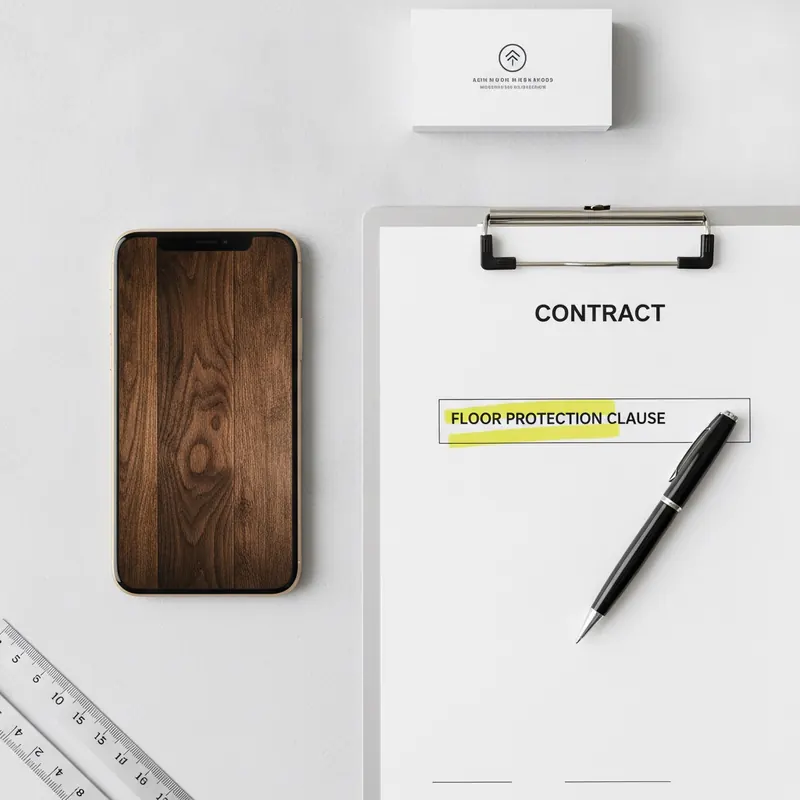
First, create a comprehensive record of your floor’s current condition. This is your “before” picture that serves as undeniable proof in case of a dispute.
- Use Your Phone: Take high-resolution photos and videos of all flooring that will be in or near the renovation zone.
- Get Close-Ups: Capture detailed shots of high-traffic areas, thresholds, and any existing minor imperfections.
- Vary the Lighting: Take photos with lights on, off, and with natural light from windows to reveal any subtle scuffs or finish issues.
- Time-Stamp Everything: Ensure your photos have a clear date and time stamp. You can also hold up a phone showing the current date in the first video clip.
- Store Safely: Save these files to a cloud service like Google Drive or Dropbox so they are secure and easily accessible.
Second, ensure your contract explicitly details the contractor’s responsibility for floor protection. Do not rely on a verbal agreement. Insist on adding a “Floor Protection Clause” to your agreement.
Sample Floor Protection Clause:
The Contractor is responsible for providing and installing comprehensive protection for all existing flooring in and adjacent to the work area for the full duration of the project. This includes, but is not limited to, the use of [Specify materials, e.g., ‘Ram Board or equivalent 46-mil breathable fiberboard’] in all high-traffic zones and walkways, and appropriate coverings for all other affected areas. The Contractor is liable for any damage to flooring, including scratches, gouges, stains, or finish degradation, that occurs during the project. The cost of repair or replacement to the Homeowner’s satisfaction will be borne by the Contractor.
Know Your Surface: Tailoring Protection to Your Floor Type
One size does not fit all when it comes to floor protection. Using the wrong covering can sometimes be as damaging as using none at all. Understanding the unique needs of your flooring material is crucial.
- Hardwood (Solid & Engineered): The primary concern for wood is breathability. Wood needs to acclimate to its environment, and newly applied finishes need to cure by releasing solvents. Trapping moisture or fumes with a non-breathable cover (like plastic sheeting) can cause the finish to fail, boards to warp, or discoloration. The National Wood Flooring Association (NWFA) strongly advises using only breathable protection products on wood floors [1].
- LVT & Laminate: These durable floors are highly resistant to moisture but are susceptible to scratching and scuffing. The main goal is to provide a robust barrier against abrasion from dust and grit, and impact protection from dropped tools.
- Carpet: The biggest threats to carpet are stains from spills and the infiltration of fine dust, which can be nearly impossible to fully vacuum out and can cause respiratory irritation. A waterproof, tear-resistant covering is essential.
Phase 2: Choosing Your Armor – The Best Temporary Floor Coverings for Construction
With your blueprint in place, it’s time to select your armor. The market is filled with options, from simple paper to high-tech boards. Choosing the right one depends on your floor type, the intensity of the renovation, and your budget.
Here is a head-to-head comparison of the most common temporary floor coverings:
| Covering | Impact Resistance | Water Resistance | Breathability | Avg. Cost | Best For… |
|---|---|---|---|---|---|
| Ram Board / Fiberboard | Excellent | Excellent | Yes | Moderate | High-traffic areas, intense renovations, protecting hardwood. The best all-around choice. |
| Plywood / Hardboard | Superior | Poor (unless treated) | No | High | Extreme impact risk, rolling heavy equipment/scaffolding. Must be used with a soft underlayment. |
| Builder Board / Paperboard | Good | Good | Yes | Moderate | A slightly less robust but effective alternative to Ram Board for medium-duty work. |
| Plastic Sheeting | Poor | Excellent | No | Low | Protecting carpet from stains; short-term dust cover. DANGEROUS for wood floors. |
| Rosin Paper / Cardboard | Poor | Poor | Yes | Low | Protecting against paint drips and light foot traffic during a simple painting job. |
Heavy-Duty Champions: Fiberboard and Hardboard
When your project involves demolition, heavy tools, or significant foot traffic, you need a heavy-duty solution.
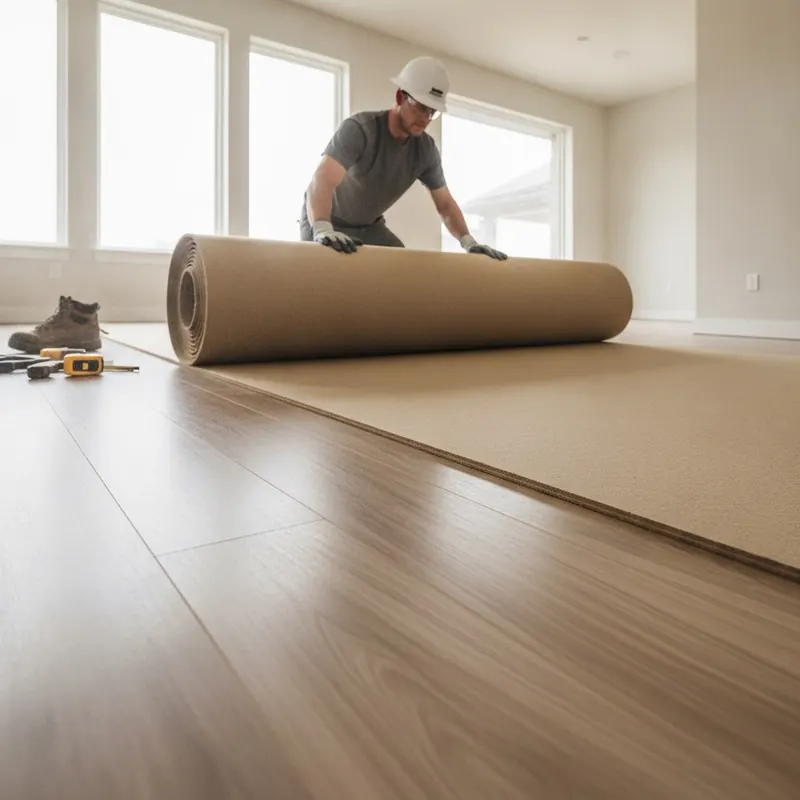
Ram Board and similar fiberboard products are the gold standard for professional contractors. Made from recycled materials, these thick (often 46-mil or more) paperboards provide excellent impact resistance. They feature technologies like “Vapor-Cure,” allowing floors to breathe while still being highly water-resistant. This makes them the safest and most effective choice for protecting hardwood, LVT, and tile during a major remodel.
Pro Tip: The seams are the weakest point in any floor protection system. Always use the manufacturer-recommended seam tape (like Ram Board’s Seamer Tape), which is engineered to be strong enough to hold but release cleanly without leaving a sticky residue on the boards themselves. Never tape directly to the floor surface.
Plywood or hardboard sheets (like Masonite) offer the ultimate protection against extreme impacts, such as from scaffolding or rolling tool chests. However, they are not a standalone solution. Because they can shift and have rough surfaces, they must be laid on top of a soft base layer, like a foam underlayment or felt-backed paper, to prevent them from scratching the very floor they are meant to protect.
Lighter-Duty Options: Rosin Paper, Plastic Sheeting, and Drop Cloths
For less intensive jobs like a weekend painting project, lighter options can suffice, but you must be aware of their limitations.
Rosin paper is a builder’s grade paper that offers minimal protection against scratches and light spills but is breathable and inexpensive. Canvas drop cloths are great for absorbing paint drips but offer zero impact protection.
Plastic sheeting is excellent for waterproofing but is also the most misused product. It is a fantastic choice for covering carpet to protect from spills and dust. However, it should be used with extreme caution elsewhere.
WARNING: Never Use Adhesive Plastic Sheeting on Hardwood Floors
Using plastic sheeting or self-adhesive plastic films on hardwood or newly cured surfaces is a recipe for disaster. These non-breathable coverings trap moisture and off-gassing fumes, which can lead to finish clouding, discoloration, and even mold growth. The adhesives can also bond with the floor’s finish, causing it to peel off upon removal. According to painting contractor associations, the best practice is to always use breathable materials like rosin paper or canvas for paint protection on hard surfaces.
Case Study: The Multi-Layer Defense for Adamantine & Luxury Flooring
What if your floors are not just standard hardwood, but a high-end, luxury material like Adamantine flooring? When protecting a significant investment, a single layer of Ram Board isn’t enough. For these scenarios, professionals use a multi-layer defense system to create a virtually impenetrable barrier. This approach is the answer to “how to protect adamantine flooring during renovation.”
Here is the step-by-step process, based on guidelines from manufacturers of ultra-durable flooring [2]:
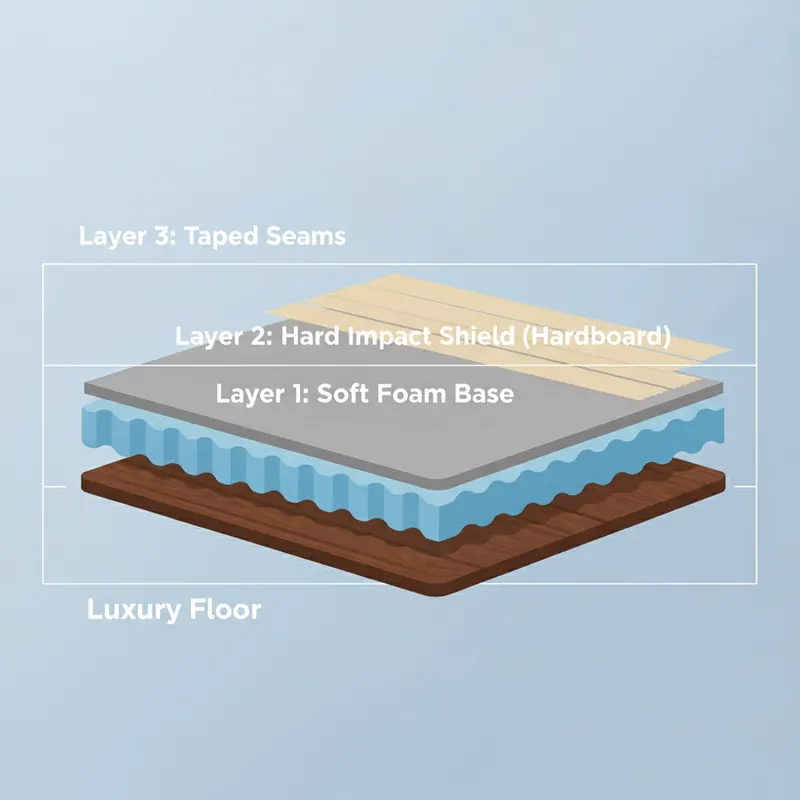
- Layer 1: The Soft Base. The first layer to touch the floor must be soft and non-abrasive. A thin foam underlayment (1/8 inch) or thick felt paper is ideal. This layer’s sole purpose is to cushion against micro-abrasions from the harder layers above it.
- Layer 2: The Hard Impact Shield. On top of the soft base, lay down 1/4-inch hardboard (Masonite) sheets. Butt the edges together tightly. This layer will absorb and distribute the force from heavy impacts, preventing gouges and dents.
- Layer 3: The Seams & Edges. Tape all hardboard seams with a high-strength, residue-free gaffer’s or construction tape. This prevents the boards from shifting and stops grit and dust from falling through the cracks. Ensure the protection runs wall-to-wall, covering every square inch.
Post-Renovation Care for Adamantine Floors
Once the renovation is complete and the protection is removed, proper maintenance is key to preserving your luxury floor’s integrity. Adamantine floor maintenance is about using the right tools and avoiding harsh chemicals.
The question “Can I use a steam mop on an adamantine floor?” is common. The answer from virtually all luxury flooring manufacturers is a definitive no. The high heat and pressure can damage the protective wear layer and compromise the integrity of the seams over time.
Instead, follow a simple care schedule:
- Daily: Dust mop with a dry microfiber pad to remove grit and dust.
- Weekly: Damp mop using a flat microfiber mop, water, and a small amount of a pH-neutral cleaner specifically formulated for hard surfaces.
- As Needed: Spot clean spills immediately with a soft cloth and the approved cleaner.
| Approved Cleaners & Tools | Forbidden Cleaners & Tools |
|---|---|
| pH-Neutral Floor Cleaner | Vinegar or Ammonia-Based Cleaners |
| Microfiber Mops/Cloths | Abrasive Scouring Pads / Steel Wool |
| Soft-Bristle Vacuum Attachment | Steam Mops |
| Water | Wax, Polish, or “Mop and Shine” Products |
Phase 3: Damage Control – Your Scratch Triage & Repair Guide
Even with the best protection, accidents can happen. A small gap in the covering, a moment of carelessness—and now you have a scratch on your otherwise perfect floor. Don’t panic. For many minor to moderate scratches on durable flooring, a DIY repair is possible if you follow a systematic process.
This is your Scratch Triage guide.
- Identify Your Floor Type. The repair method for hardwood is completely different from that for LVT or laminate. Be 100% certain of your material before you begin.
- Assess the Scratch Depth (The Fingernail Test). Gently run your fingernail across the scratch.
- If your nail does not catch: This is a superficial scuff or a scratch in the finish only. It’s often repairable.
- If your nail does catch: The scratch has penetrated the protective wear layer and possibly into the material core. This is a deeper scratch that will be harder to hide and may require professional attention.
- Match the Repair Method to the Problem.
- For Superficial Scuffs on LVT/Laminate: Often, a simple tennis ball or a microfiber cloth with a bit of elbow grease can buff out scuff marks.
- For Light Scratches in Hardwood Finish: Use a stain-filled marker that matches your floor color. Apply it carefully within the scratch, wipe away the excess immediately, and let it dry.
- For Minor Scratches in LVT/Laminate: Floor repair kits often include wax pencils or soft putty fillers. You can melt or press the wax into the scratch, scrape away the excess with a plastic card, and buff the area to blend it in.
- For Deeper Scratches (Nail Catches): This is where you need to manage expectations. The goal is camouflage, not complete erasure. For hardwood, you may need a wood filler putty matched to your stain color. For LVT or laminate, a color-matched putty from a repair kit is the best option. These repairs will make the scratch far less noticeable but may be visible up close.
Deciding between a DIY fix and calling a professional comes down to the floor’s value, the scratch’s severity, and your comfort level. If the scratch is deep, wide, or on a very expensive floor, it’s always wise to consult a professional first.
The Final Walkthrough: Holding Contractors Accountable
The project is finished, the dust has settled, and it’s time for the final payment. Stop. Before you sign that last check, you must conduct a meticulous final walkthrough. This is your last, best chance to identify any damage and hold your contractor accountable.
Do not perform the walkthrough alone. Do it with your contractor, in good lighting, using your pre-renovation photos as a reference.
Here’s what to look for:
- Get Low: Kneel and look across the floor’s surface against the light. This will reveal fine scratches and dull spots that are invisible from a standing position.
- Check Everywhere: Inspect high-traffic areas, doorways, and the spots where heavy tools or materials were staged.
- Feel the Surface: Run your hand (gently) over areas you suspect may be damaged to feel for grit or roughness in the finish.
If you find damage, what are your rights? This is where your pre-renovation blueprint becomes invaluable.
Q: What’s the first step if I find damage?
A: “Document it immediately with new photos and videos, referencing your ‘before’ photos. Then, notify the contractor in writing (an email is fine) with the photos attached. Do not make the final payment until you have a written agreement on how the damage will be rectified.”
Q: Who pays for the repair? The contractor’s insurance?
A: “The contractor is typically responsible for damage caused by their team. They may pay out of pocket or file a claim on their general liability insurance. This is different from your homeowner’s policy. According to the Insurance Information Institute (Triple-I), a contractor’s liability insurance is designed to cover property damage they cause, whereas your homeowner’s policy typically does not cover faulty workmanship or damage caused by a contractor you hired [3].”
By being prepared and professional, you can navigate this conversation effectively. Present the evidence, refer to the contract clause you added, and work toward a fair solution, which could be a professional repair or a deduction from the final payment to cover the cost of the repair.
Your Floors, Your Fortress
A home renovation should be a source of joy, not a battle against damage. By adopting the “Homeowner’s Fortress” strategy, you transform anxiety into action and empowerment. You’ve learned how to create a pre-renovation blueprint, how to choose the right armor for any situation, and how to perform damage triage when the unexpected occurs. Most importantly, you know how to hold your team accountable to ensure the job is done right.
Your floors are the foundation of your home’s beauty and value. Protecting them is not an afterthought—it’s an integral part of a successful renovation.
Feeling prepared? Don’t leave it to chance. Download our FREE ‘Complete Renovation Floor Protection Bundle,’ including our Pre-Reno Documentation Checklist, Floor Protection Clause, and Final Walkthrough Checklist to ensure your floors stay flawless.
Disclaimer: This article provides general guidance and recommendations. For specific contractual or legal advice regarding contractors and insurance claims, please consult with a qualified legal professional. Always follow manufacturer guidelines for your specific flooring and protection products.
References
- National Wood Flooring Association (NWFA). (N.D.). Installation Guidelines. Retrieved from https://www.nwfa.org/Installation-Guidelines/
- Manufacturer Guidelines. (N.D.). General care and protection recommendations for ultra-durable and luxury composite flooring often include the use of multi-layer protection systems for construction and advise against non-breathable coverings. This information is typically found in installation and warranty documentation provided by specific product manufacturers.
- Insurance Information Institute (Triple-I). (N.D.). Does my homeowners insurance cover a contractor’s bad work? Retrieved from https://www.iii.org/article/does-my-homeowners-insurance-cover-contractors-bad-work