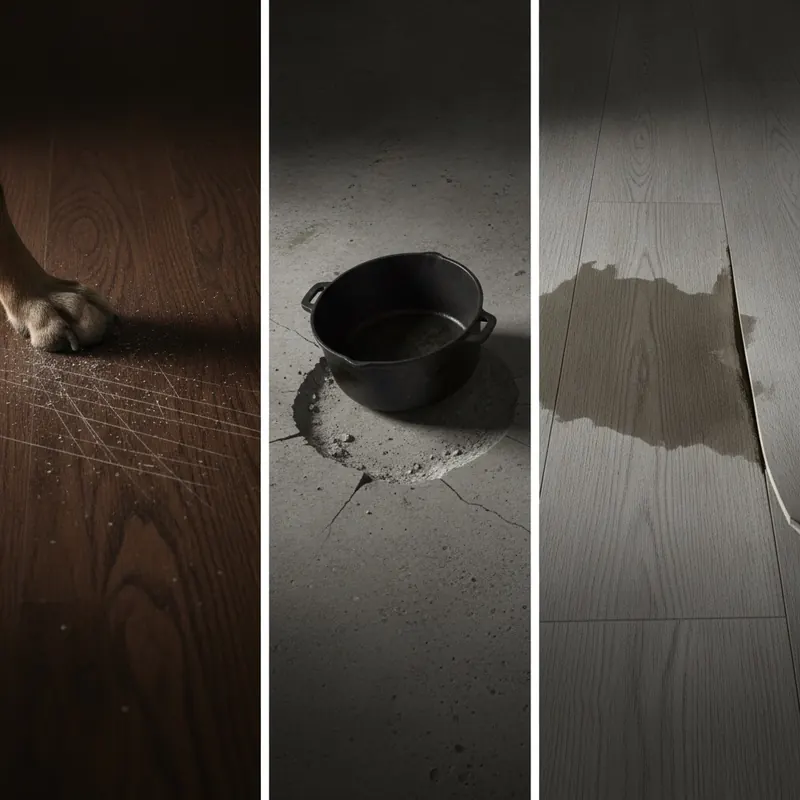
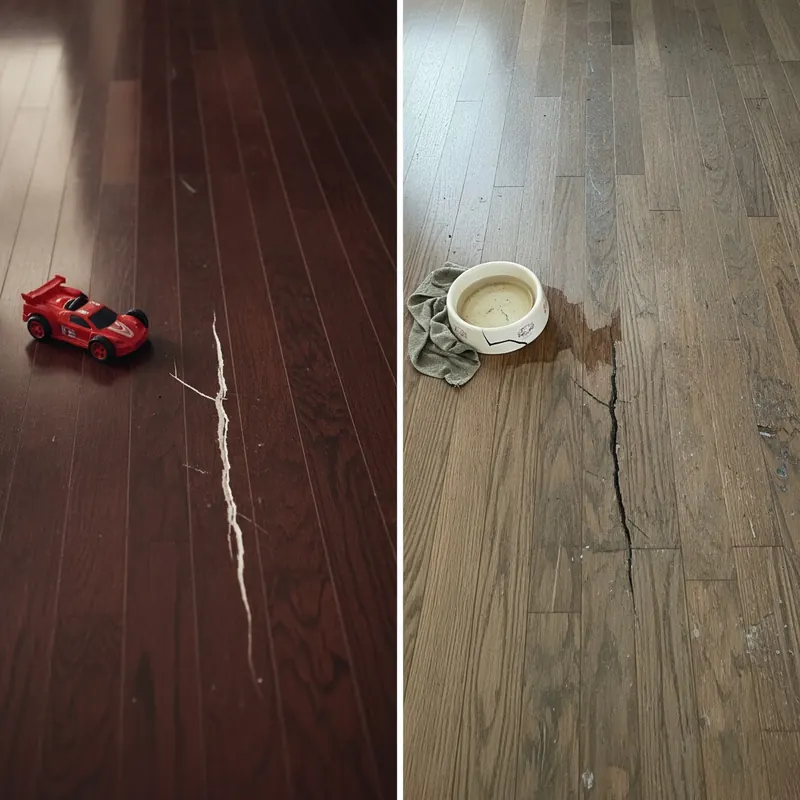
You invested in Adamantine flooring for its stunning visual detail, intricate texture, and promise of durability. Yet, you’re starting to notice something unsettling. The crisp patterns in high-traffic areas look a little blurry, the rich color near the windows seems faded, and the satisfying texture feels smoother than you remember. It’s a frustrating realization that your significant investment is slowly losing its “like-new” brilliance.
Generic cleaning tips found across the internet are often insufficient and, in some cases, can even cause more harm. The truth is, preserving the unique character of Adamantine flooring requires more than just a weekly mop—it requires a system.
This is not another list of simple hacks. This is a comprehensive, science-backed Floor Integrity System designed to help you diagnose the specific threats to your floor, proactively prevent damage, and restore its original beauty. We will explore the science of wear and fading, provide a structured maintenance plan, and offer clear guidance on restoration, empowering you to protect your investment for years to come.
- Diagnosing the Threats: Why Your Adamantine Floor is Losing Detail
- The Proactive Preservation System: Your Daily, Weekly, and Annual Plan
- Advanced Protection: Sealing and Shielding Your Adamantine Flooring
- Restoration & Repair: Bringing Faded and Worn Floors Back to Life
- FAQ: Your Adamantine Floor Preservation Questions Answered
- Conclusion: Protect Your Investment with a Consistent System
- References & Authoritative Sources
Diagnosing the Threats: Why Your Adamantine Floor is Losing Detail
Before you can effectively protect your floor, you must understand the forces working against it. The loss of visual integrity is rarely due to a single cause; it’s often a combination of factors that degrade the surface over time. According to conservation principles used by experts at institutions like the Getty Conservation Institute, understanding material degradation is the first step toward effective preservation [1]. We’ve developed a diagnostic approach to help you pinpoint the exact culprits behind faded visuals, worn texture, and blurry patterns.
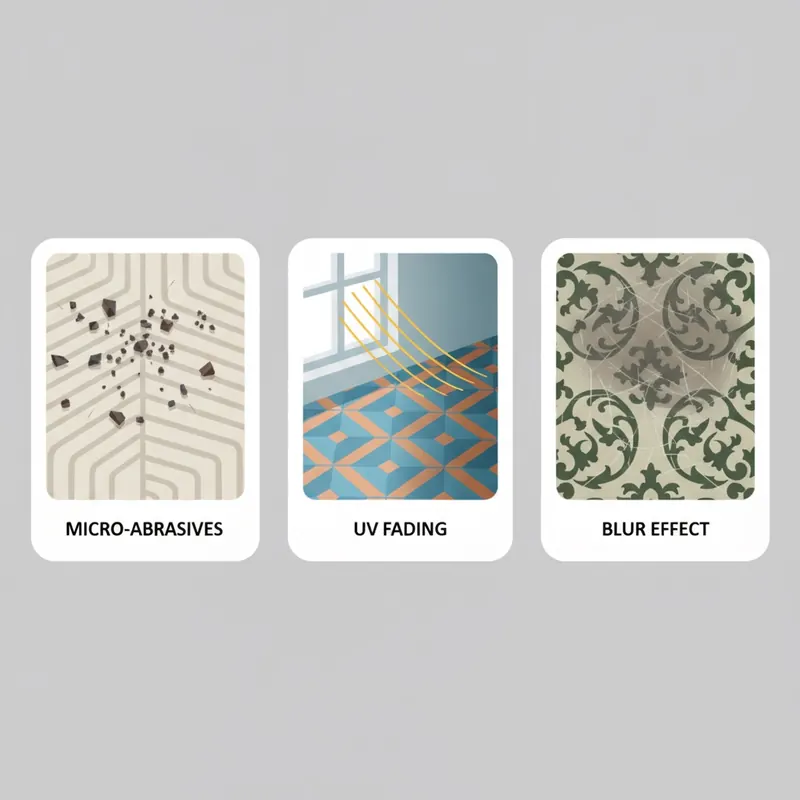
Consider this a diagnostic flowchart for your floor’s health. Is the issue color loss? It’s likely a fading factor. Is it a loss of physical surface character? That points to micro-abrasives. Is the problem a general lack of clarity or “pop”? You’re probably dealing with the blur effect. Let’s break down each threat.
The Invisible Enemy: How Micro-Abrasives Wear Down Texture
If you’ve ever asked, “Why does my floor feel smooth in some spots?” the answer is micro-abrasion. Your floor is under constant assault from an invisible enemy: tiny, sharp particles of grit, sand, and dust. These particles, often containing materials like quartz, are harder than you might think. On the Mohs scale of mineral hardness, quartz rates a 7, while many durable flooring finishes are softer. This means every step on a gritty floor is like sanding it with microscopic sandpaper.
Over time, this relentless friction wears down the peaks and valleys of the floor’s intended texture, creating smooth, unsightly paths in high-traffic lanes. Materials science journals like Wear and Tribology International detail the fundamental science of this process, explaining how friction and wear on hard surfaces lead to irreversible changes in surface topography [2]. To prevent worn floor texture, you must first control this invisible abrasive force.
The Fading Factor: Unmasking the Culprits Behind Color Loss
Faded flooring visuals are one of the most common and frustrating problems, especially for floors in sunlit rooms. The primary culprit is ultraviolet (UV) radiation from sunlight, which breaks down the chemical bonds in pigments and dyes within the flooring material. Research from the National Institute of Standards and Technology (NIST) on material degradation confirms that prolonged light exposure is a leading cause of color change and fading in a wide range of materials, including flooring polymers [3].
However, UV light isn’t the only villain. Harsh, improper cleaning chemicals can also strip color and damage the protective top layer of your floor. Cleaners with a high or low pH (acidic or alkaline) can chemically alter the surface, leading to a dull or faded appearance. Furthermore, as experts at the Lighting Research Center (LRC) have noted, the type of lighting in your home can affect how you perceive color and detail, though it is direct UV exposure that causes the physical fading [4].
The Blur Effect: When Grime and Micro-Scratches Kill Clarity
Does the intricate pattern on your floor look “blurry” or “dull”? This is what we call the “blur effect,” a phenomenon that kills clarity and makes your floor look old before its time. It’s caused by two main issues working in tandem:
- Deep-seated Grime: Over time, a thin film of dirt, oils, and cleaning residue can build up in the microscopic pores and texture of your floor, even if it looks “clean” to the naked eye. This film obscures the fine details of the pattern.
- Web of Micro-Scratches: The same micro-abrasives that wear down texture also create a dense network of tiny scratches on the floor’s surface. These scratches aren’t deep enough to be seen individually, but together they scatter light in all directions instead of reflecting it uniformly.
Think of your floor’s visual detail like the resolution of a high-definition photograph. This combination of grime and micro-scratches effectively lowers the “resolution,” making the image appear dull and out of focus. Professional assessment standards from the Institute of Inspection, Cleaning and Restoration Certification (IICRC) are used to evaluate this exact type of surface soiling and abrasion to determine the proper restoration method [5].
The Proactive Preservation System: Your Daily, Weekly, and Annual Plan
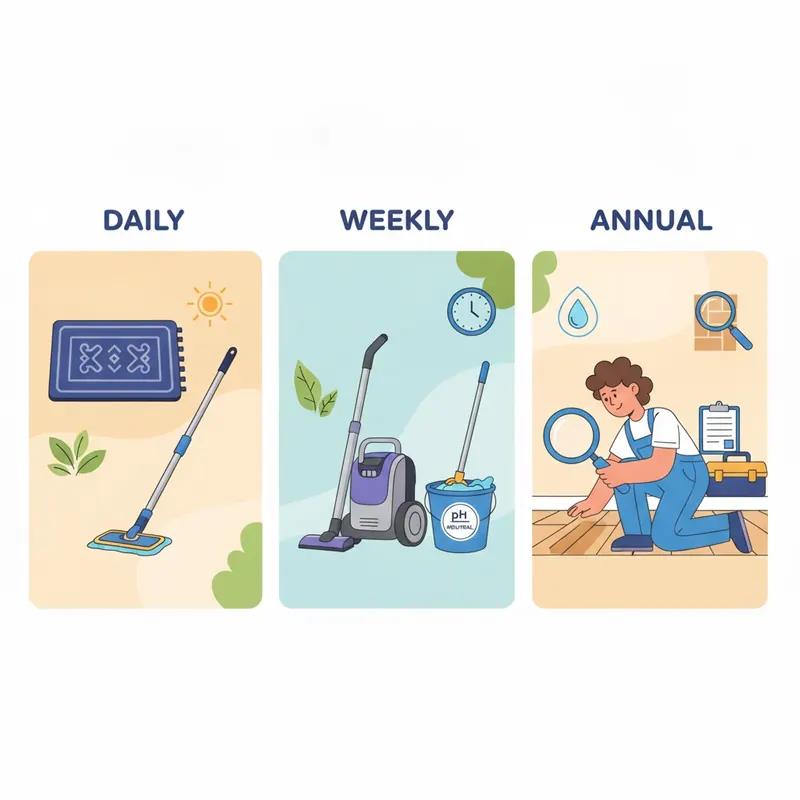
Now that you can diagnose the threats, it’s time to implement a defense. The most effective way to maintain floor visual integrity is through a consistent, proactive system. We’ve broken down floor preservation into a manageable schedule to prevent overwhelm and ensure every critical task is covered.
This framework is built on three tiers of commitment: 5-minute daily habits that form your first line of defense, a 30-minute weekly routine to clean and maintain, and 4-hour annual projects for deep care and inspection.
Daily Habits (5-Minute Commitment)
These small, daily actions have the single largest impact on preventing long-term damage. They are focused on one goal: stopping abrasives and spills before they can harm your floor.
- Enforce a “Mats First” Rule: The most critical step in floor preservation is trapping dirt at the door. The World Floor Covering Association (WFCA) emphasizes that effective entrance matting can capture up to 85% of soil and grit before it ever reaches your floor [6].
- Pro Tip: Use a two-mat system. Place a coarse scraper mat outside the door to remove large debris and a highly absorbent mat inside to trap fine grit and moisture.
- Sweep or Dust Mop High-Traffic Zones: A quick pass with a microfiber dust mop or soft-bristled broom in areas like the kitchen, hallways, and entryways takes only a minute but removes the daily accumulation of damaging particles.
- Wipe Up Spills Immediately: Liquids, especially acidic ones like juice or wine, can stain or etch the floor’s surface if left to sit. Use a soft, absorbent cloth to blot spills immediately.
Weekly Tasks (30-Minute Routine)
Your weekly routine is about removing the accumulated grime that daily habits miss and performing key preventative checks.
- Vacuum Thoroughly (With the Right Tools): Use a vacuum cleaner with a dedicated hard-floor head (with soft bristles, not a beater bar) to avoid scratching the surface. The Good Housekeeping Institute’s testing standards prioritize vacuums that effectively clean hard surfaces without causing damage [7]. Pay special attention to edges and under furniture where dust collects. Robotic vacuums can be safe, but only if they have soft, non-abrasive brushes and are confirmed by the manufacturer to be suitable for your specific flooring type.
- Mop with a pH-Neutral Cleaner: After vacuuming, mop the floor using a microfiber mop and a cleaning solution with a neutral pH. Harsh, acidic, or alkaline cleaners can damage the floor’s finish over time. Always use two buckets: one for the cleaning solution and one with clean water to rinse the mop. Never use a steam mop on Adamantine flooring. The high heat and pressurized moisture can damage the protective wear layer, compromise adhesives, and force moisture into the core of the material, leading to irreversible damage.
- Check Furniture Pads: Inspect the felt pads on the bottom of all furniture legs. If they are worn, compressed, or embedded with grit, replace them immediately. This simple check prevents deep scratches from chair and table movement.
Annual Projects (Deep Care & Inspection)
Once a year, set aside a few hours for a deep “health check” and revitalization of your flooring.
- Perform a Deep Clean: Even with regular mopping, a deep-seated film can develop. Use a manufacturer-recommended deep cleaner or a professionally formulated solution to strip away this residue and restore clarity.
- Conduct a Floor Health Inspection: Get down on your hands and knees and carefully inspect the entire floor. Look for early signs of wear in high-traffic lanes, check for any chips or deep scratches, and assess the condition of the sealant (if applicable) by seeing if water still beads on the surface.
- Schedule Professional Cleaning (If Needed): According to IICRC standards, it’s beneficial to have hard surface flooring professionally deep cleaned every 12-24 months, depending on household traffic [5]. Professionals have equipment and solutions that can safely remove soil buildup that residential methods cannot.
Special Considerations: Pets, Climate, and High Traffic
Standard maintenance is a great start, but unique household challenges require specific strategies.
- Pets: Beyond regular nail trimming, place durable, washable runner rugs in areas where pets frequently run or play. Keep a paw-cleaning station near the door with a towel or gentle wipes to remove grit and mud before they are tracked through the house.
- Climate: In regions with harsh winters, road salt and de-icing chemicals are a major threat. Make your entryway a strict “no-shoe zone” and use a boot tray to contain melted snow and salt. In humid climates, maintaining a consistent indoor humidity level (typically 30-50%) with a dehumidifier or air conditioner is crucial to prevent flooring from warping or swelling.
- High Traffic: For homes with lots of activity, area rugs and runners are your best friend. They absorb the vast majority of wear and can be easily cleaned or replaced, preserving the floor underneath.
Advanced Protection: Sealing and Shielding Your Adamantine Flooring
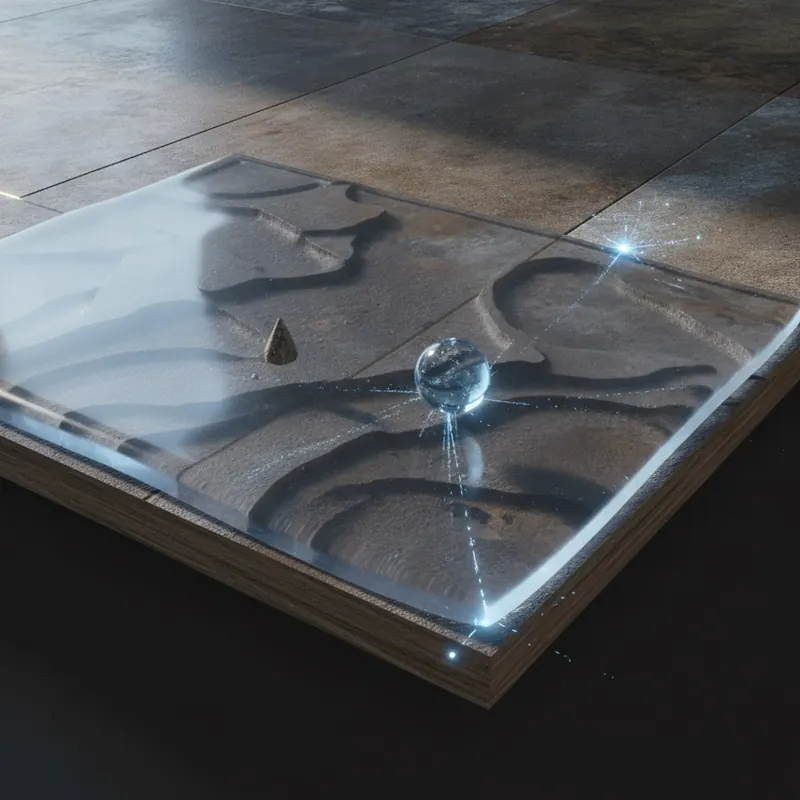
For the ultimate in texture protection, a high-quality topical sealant can provide a sacrificial, renewable barrier between your floor and the forces of wear and tear. However, applying a sealant is a significant step that requires careful consideration and correct application.
The science behind these protective layers is rooted in polymer chemistry. As detailed in publications from the American Chemical Society (ACS), modern floor sealants are advanced polymer coatings designed to form a durable, transparent film that resists abrasion, repels stains, and enhances visual depth [8]. Choosing and applying the right one is key to safeguarding your investment.
Do You Need a Sealant? Understanding Your Floor’s Finish
Before you buy any product, you must determine if your Adamantine flooring is designed to accept a topical sealant. Many modern floors come with a robust, factory-cured wear layer (often aluminum oxide-infused urethane) that is non-porous and should not be coated. Applying a sealant to a floor that doesn’t need one can result in a peeling, cloudy mess that is difficult to remove.
- The Water Drop Test: Place a few drops of water on the floor in an inconspicuous area. If the water beads up and sits on the surface after several minutes, the floor is likely sealed and non-porous. If the water slowly soaks in and darkens the floor, the surface is porous and may benefit from a sealant.
- The Ultimate Authority: Always consult your specific flooring manufacturer’s official care guide. This document is the primary authority and will state explicitly whether topical sealants or polishes are recommended.
Choosing the Right Sealant: A Chemical Composition Breakdown
If your floor is suitable for sealing, you must choose the right product. Answering “What is the best type of sealant for adamantine flooring?” depends on your needs for durability and appearance.
- Acrylic Sealants: These are typically water-based, easy to apply, and offer good scuff resistance and a clear finish. They are a good choice for residential settings but may require more frequent reapplication (every 1-2 years).
- Urethane Sealants: Often available in water-based or oil-based formulas, urethanes offer superior durability and abrasion resistance compared to acrylics. They are an excellent choice for high-traffic areas and provide longer-lasting protection.
When selecting a product, look for one that meets or exceeds industry standards for wear and abrasion resistance, such as those set by ASTM International [9]. A flooring restoration specialist would advise selecting a sealant based not just on durability but also on the desired finish—a matte finish can help hide minor imperfections, while a gloss finish will enhance color and depth but may show scratches more easily.
Restoration & Repair: Bringing Faded and Worn Floors Back to Life
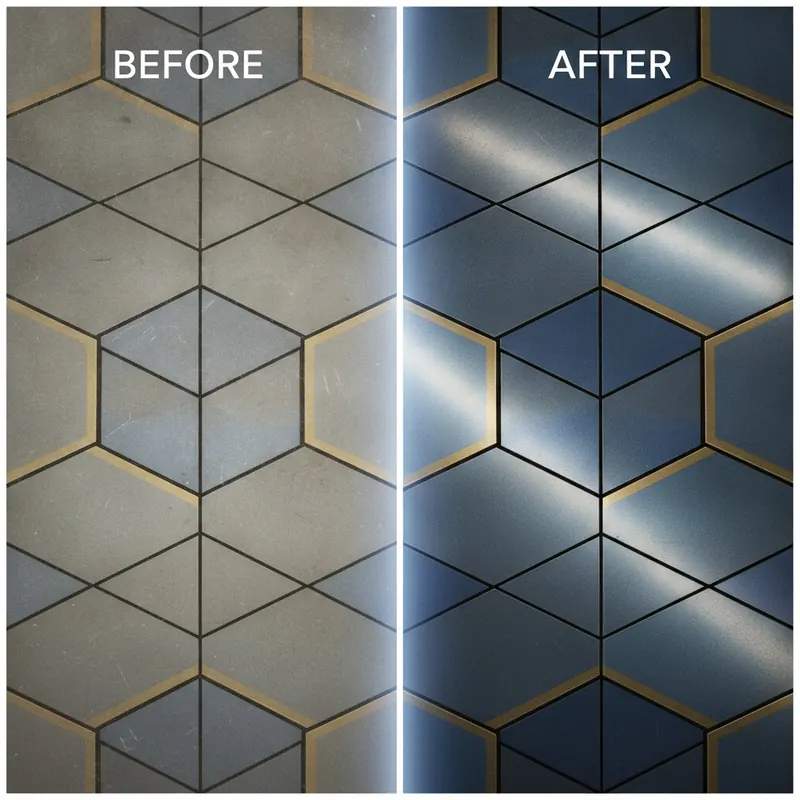
If your floors already show signs of degradation, don’t despair. While prevention is ideal, many common issues can be addressed with the right restoration techniques. This section covers DIY solutions for minor problems and provides clear criteria for when it’s time to call in a professional.
A key consideration is the cost and effectiveness of professional restoration versus DIY kits. DIY kits are inexpensive and can be effective for minor, localized issues like a single scratch or a small dull spot. Professional restoration is a larger investment but is the only viable option for widespread issues like significant texture loss, deep scratches, or extensive fading, delivering results that are impossible to achieve with DIY products.
DIY Solutions for Minor Fading and Micro-Scratches
For early signs of wear, such as dullness or a web of micro-scratches, you have several DIY options.
- Floor Polishes & Restorers: These products are designed to fill in micro-scratches and restore sheen. They typically contain acrylic polymers that form a very thin, clear layer on the floor’s surface, which helps to reflect light more uniformly and makes the “blur effect” disappear.
- Color Enhancers or Rejuvenators: For minor, uniform fading, some products are designed to bring back color. These often contain a combination of polymers and light-refracting compounds that deepen the perception of color.
Crucial Note: Always test any restoration product in a hidden area, like inside a closet or under a large piece of furniture, to ensure it is compatible with your flooring and provides the desired result before applying it to a large area.
Can Worn Texture Be Repaired? Exploring Your Options
Repairing physical, worn-down texture is the most challenging restoration task. For significant texture loss, DIY fixes are generally not possible. The texture is an integral part of the flooring material itself, and once it’s abraded away, it cannot be simply “wiped back on.”
However, professionals have advanced options. A “screen-and-recoat” is a process where specialists lightly abrade (screen) the entire floor surface to remove the damaged top layer and create a profile for a new coat of high-durability urethane to adhere to. While this may not restore the original embossed texture, it creates a uniform, brand-new protective surface that can eliminate the appearance of worn paths and restore a consistent sheen. A professional floor restorer can assess the extent of the wear and determine if your floor is a good candidate for this process.
When to Call a Professional: Knowing Your Limits
While DIY methods are great for minor upkeep, certain issues demand professional expertise. It’s time to call a certified professional if you encounter:
- Deep scratches or gouges that have penetrated the wear layer.
- Widespread or severe color fading that doesn’t respond to DIY products.
- Significant texture loss in large areas or high-traffic lanes.
- Stains that you are unable to remove with manufacturer-approved spot cleaners.
- Any damage involving water, such as warping or swelling.
When hiring a contractor, look for technicians certified by the IICRC, as this indicates they have been trained to industry-best standards [5]. Ask them questions like: “What is your experience with Adamantine or similar high-density flooring?” and “Can you explain the process and chemicals you will use to ensure they are compatible with my specific floor?”
FAQ: Your Adamantine Floor Preservation Questions Answered
Here are quick, direct answers to some of the most common questions about preserving your flooring.
What is the single most important thing to do to preserve floor aesthetics?
The single most important thing is aggressive and consistent grit control. As emphasized by industry groups like the WFCA, preventing abrasive particles from ever touching the walking surface of your floor by using high-quality entrance mats and daily dust mopping will do more to preserve your floor’s texture and finish than any other single action [6].
Are steam mops safe for textured adamantine floors?
No. You should never use a steam mop on Adamantine flooring. The combination of high heat and pressurized moisture can permanently damage the floor’s protective wear layer, weaken adhesives, and potentially cause delamination or warping. Always stick to a damp microfiber mop and a pH-neutral cleaning solution.
What kind of furniture pads are best?
Thick, high-quality felt pads are the best choice for most furniture legs. They allow items like chairs to slide without scratching the floor. Avoid hard plastic casters or glides, which can cause scratches and indentations. For heavy, stationary items like sofas, use non-staining, high-density rubber or felt cups to distribute the weight and prevent dents. As recommended by home care experts like those at Good Housekeeping, check and clean these pads regularly to ensure grit has not become embedded in them [7].
Conclusion: Protect Your Investment with a Consistent System
Preserving the intricate beauty of your Adamantine flooring is not about a collection of random tips; it’s about implementing a consistent and knowledgeable Floor Integrity System. By understanding the forces working against your floor, you can move from a reactive to a proactive mindset.
The pillars of this system—Diagnose, Prevent, and Restore—provide a complete framework for care. You can now identify the root causes of degradation, from micro-abrasion to UV fading. You have a structured daily, weekly, and annual plan to prevent that damage from ever taking hold. And you have a clear understanding of how to restore minor issues and when to call on professionals for more significant repairs.
By adopting this systematic approach, you are doing more than just cleaning your floors. You are actively preserving their texture, protecting their visual detail, and ensuring that your beautiful, high-quality flooring remains a source of pride and enjoyment for its entire lifespan.
Your first step is simple: take what you’ve learned today and begin your new maintenance routine. The long-term health and beauty of your floor depend on the consistent care you provide starting now.
Disclaimer: This article provides general floor care advice. Always follow your specific flooring manufacturer’s instructions and test any cleaning products or sealants in an inconspicuous area before full application.
References & Authoritative Sources
- The Getty Conservation Institute. (N.D.). Conservation Principles, Planning, and Practice. Getty Conservation Institute.
- Wear and Tribology International. (N.D.). Peer-reviewed academic journals on the science of friction, wear, and lubrication.
- National Institute of Standards and Technology (NIST). (N.D.). Material Degradation Research. NIST.
- Lighting Research Center (LRC) at Rensselaer Polytechnic Institute. (N.D.). Research Publications. Rensselaer Polytechnic Institute.
- The Institute of Inspection, Cleaning and Restoration Certification (IICRC). (N.D.). IICRC Standards. IICRC.
- The World Floor Covering Association (WFCA). (N.D.). Consumer Flooring Guide. WFCA.
- Good Housekeeping Institute. (N.D.). Product Testing & Reviews. Good Housekeeping.
- American Chemical Society (ACS). (N.D.). Journal of Coatings Technology and Research. ACS Publications.
- ASTM International. (N.D.). ASTM Standards for Flooring. ASTM International.