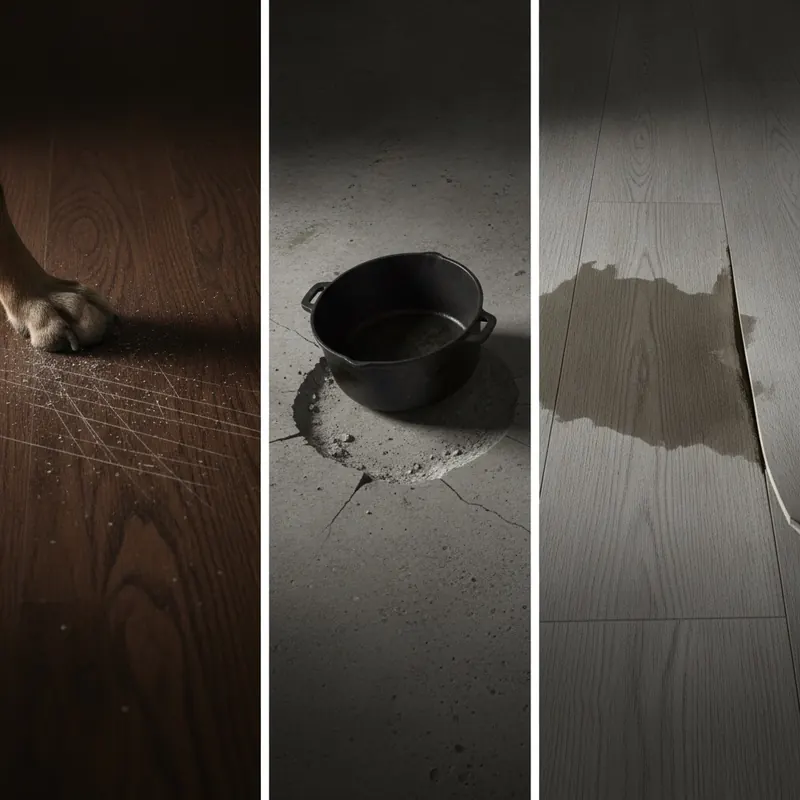
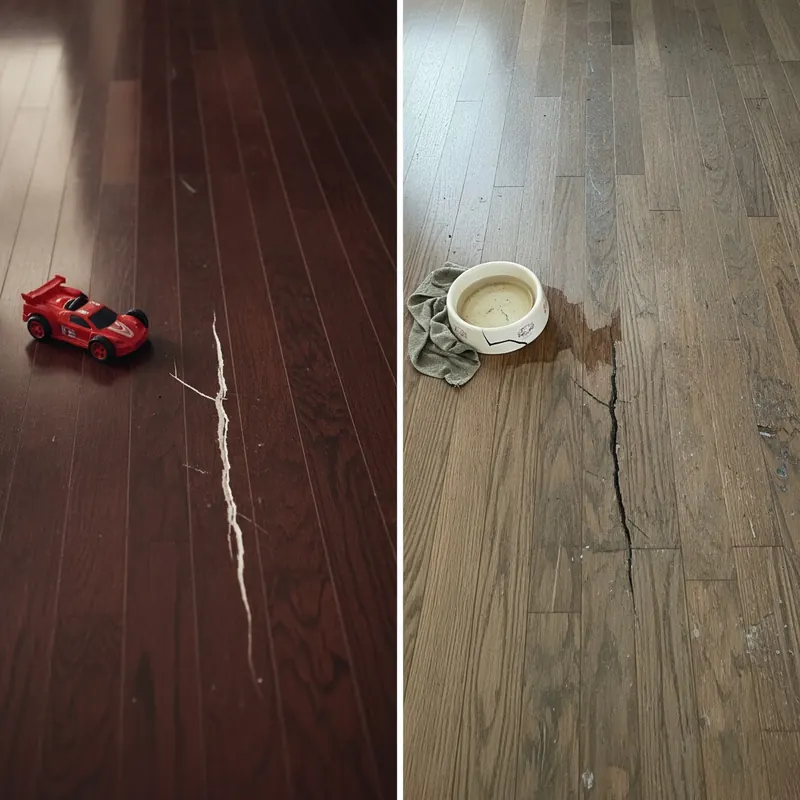
There is no disappointment quite like watching ugly gaps appear between the planks of your beautiful, expensive new floor. What starts as a hairline crack soon becomes a noticeable chasm, collecting dirt and ruining the seamless look you invested in. You’re left wondering: was the product defective? Did I choose the wrong material? The frustrating truth is that most flooring failures—from plank separation and buckling to an unstable, bouncy feeling underfoot—are not the fault of the plank itself.
True, enduring stability doesn’t come from a single component. It comes from mastering the entire ‘Floor System’: a holistic combination of the subfloor, the underlayment, the plank, and, most importantly, the installation. A weakness in any one of these layers can compromise the whole structure.
This is your definitive blueprint to achieving a permanently stable, gap-free floor. We will expose the real reasons floors fail and provide you with the expert-level knowledge to select the right materials, guarantee a perfect installation, and diagnose and repair any existing issues. Forget blaming the plank; it’s time to master the system.
- Understanding Adamantine Flooring: The Foundation of an Unyielding Floor
- The Science of Stability: A Deep Dive into Interlocking Technologies
- The Anatomy of Failure: Why Even the Best Floors Separate and Buckle
- The Stability Blueprint Part 1: A Pre-Installation Checklist for a Gap-Free Floor
- The Stability Blueprint Part 2: Your Diagnostic & Repair Guide for Gaps
- The Durability Matrix: Choosing the Best Flooring for High-Traffic Areas
- Frequently Asked Questions (FAQ) About Flooring Stability
- Conclusion: Build a Floor That Lasts a Lifetime
- References & Authoritative Sources
Understanding Adamantine Flooring: The Foundation of an Unyielding Floor
The term “Adamantine Flooring” represents the pinnacle of flooring design, where every component is engineered for maximum durability and lifelong stability. At its heart is an unyielding plank interlock, a locking mechanism designed with extreme precision to resist the forces of temperature change, humidity, and heavy traffic that cause lesser floors to separate.

Unlike simple tongue-and-groove systems, an Adamantine-level interlock is a complex, four-sided mechanical system. The profiles on all edges of the plank are milled to create a tight, rigid connection that actively prevents planks from pulling apart or shifting vertically. This strength, however, is directly supported by the plank’s core material. The two most common rigid cores are:
- SPC (Stone Polymer Composite): This core is made from a mixture of limestone powder, PVC, and stabilizers. The result is an incredibly dense, rigid, and dimensionally stable plank. This rigidity gives the locking mechanism a rock-solid foundation, making it highly resistant to breaking or warping under stress. SPC is the preferred choice for areas with temperature fluctuations or for installation over less-than-perfect subfloors.
- WPC (Wood Polymer Composite): This core incorporates wood pulp or fibers, making it slightly less dense and more comfortable underfoot than SPC. While still very stable, its primary advantage is enhanced sound insulation and warmth. The locking systems on high-quality WPC are robust, but the extreme rigidity of an SPC core often gives it an edge in raw interlock strength.
In essence, an unyielding plank interlock isn’t just about the “click”; it’s a synergistic relationship between a precisely engineered locking profile and a super-stable core material.
The Science of Stability: A Deep Dive into Interlocking Technologies
The evolution of floating floors has been driven by the innovation of their locking systems. Understanding the difference between these technologies is key to selecting a floor with genuine long-term stability.
A basic Tongue-and-Groove system, common in traditional hardwood, features a protruding “tongue” on one side of a plank that fits into a “groove” on the adjacent plank. While effective, it often requires glue or nails and lacks the mechanical “locking” action needed to actively prevent separation in floating floors.
Modern Click-Lock systems are a significant leap forward. These are precisely engineered profiles that snap together and create a strong mechanical bond without adhesives. However, not all click-lock systems are created equal. The most advanced and stable systems, often protected by patents, provide a four-sided lock that secures the plank on both its long and short ends.
According to the flooring experts at Quest Interiors, the four-sided mechanical lock found in systems like Unilin’s Uniclic is demonstrably superior. This technology allows planks to be joined in multiple ways (angling, tapping) and creates immense locking force, preventing both horizontal gapping and vertical shifting.[1] Two of the most renowned systems on the market are:
- Unilin Uniclic: A pioneering and widely trusted system known for its tight, seamless joints and proven longevity. Its unique profile creates constant tension between planks, actively pulling them together.
- Välinge 5G: This system is famous for its “fold-down” end-joint technology. A flexible plastic or fiberglass tongue on the short end of the plank audibly clicks into place when folded down, making installation faster and ensuring a perfect, locked end-joint every time.
When you invest in flooring that utilizes these top-tier technologies, you are investing in the engineering that prevents the most common forms of flooring failure.
Stability Scorecard: Rating the Most Reliable Interlocking Systems
To help you choose the most stable interlocking flooring system, we’ve created a scorecard comparing top materials based on durability and performance under stress. Ratings are on a scale of 1 to 10, where 10 is the highest stability and durability.
| Feature / Material | Porcelain Tile | Luxury Vinyl Tile (LVT/LVP) | Laminate |
|---|---|---|---|
| Interlock Strength | 9 (Grout acts as permanent lock) | 8 (With SPC Core & 5G Lock) | 7 (With HDF Core & Uniclic) |
| Dimensional Stability | 10 (Unaffected by moisture) | 9 (SPC core is waterproof) | 6 (HDF core can swell) |
| Scratch & Dent Resistance | 10 | 7 | 8 |
| Suitability for High Traffic | 10 | 9 | 8 |
| Overall Stability Score | 9.7 | 8.2 | 7.2 |
This scorecard is informed by rigorous testing from trusted sources. Consumer Reports consistently highlights porcelain tile as a top performer for overall durability in high-traffic areas.[2] Furthermore, expert analysis from Garage Gym Reviews, which tests flooring under the extreme stress of dropped weights, confirms that materials with high density and strong locking mechanisms or permanent bonds (like tile) offer the greatest stability under pressure, a powerful indicator of long-term residential performance.[3]
The Anatomy of Failure: Why Even the Best Floors Separate and Buckle
Here is the most important concept in this guide: Your floor is a system. To understand why it fails, you must visualize it as a “Floor Sandwich.”
- The Bottom Slice (The Foundation): Your Subfloor
- The Filling (The Cushion & Support): Your Underlayment
- The Top Slice (The Pretty Part): Your Flooring Plank

If the foundation is crumbly or the filling is wrong, the entire sandwich falls apart. The vast majority of issues like flooring plank separation, gaps in floating floors, and unstable plank flooring are caused by a failure in one of these foundational layers, not a defect in the top plank. As flooring professionals at sources like Flacks Flooring and Floor Coverings International consistently point out, improper installation is the primary culprit behind most flooring failures.[4] In fact, industry data suggests that improper expansion allowance is behind more than 40% of all laminate flooring gaps.
Let’s dissect the three main culprits.
Culprit #1: An Uneven Subfloor
This is the number one killer of floating floors. An uneven subfloor creates voids and high spots. When you walk over a void, the plank flexes downward. This constant flexing puts immense stress on the locking mechanism, which acts like a hinge. Eventually, that hinge fatigues and breaks, leading to separation and a bouncy, unstable plank flooring feel.
How to Diagnose: Place a long, 10-foot straightedge or level on your subfloor. If you can slide a 3/16-inch drill bit under it at any point, your subfloor is too uneven. Most manufacturers and industry bodies like the Concrete Masonry and Hardscapes Association (CMHA) specify this “flat to within 3/16 inch in a 10-foot span” tolerance as a non-negotiable requirement for a valid warranty and a stable floor.[5]
Culprit #2: Incorrect Underlayment
The underlayment is not just for sound reduction; it’s a critical support layer. Using an underlayment that is too thick or too soft for a rigid core floor is like putting a mattress under a sheet of plywood. It will feel spongy and unstable. This excessive vertical movement, just like with an uneven subfloor, will stress and eventually break the locking joints. As flooring experts at both CloudsFlooring and Zinatex Rugs note, a common installation error is pairing a thick, soft underlayment designed for carpet with a rigid core vinyl plank, which directly leads to instability and joint failure.[6] For rigid core flooring (like SPC or LVP), the rule is to use a thin, dense foam underlayment that provides support, not excessive cushion.
Culprit #3: No Room to Breathe (Expansion Gaps)
Floating floors are designed to “float” as a single, monolithic unit over the subfloor. All building materials, especially those with wood or polymer content, expand and contract with changes in temperature and humidity. The floor needs space to accommodate this movement. Without a perimeter gap of 8-12mm (1/4″ to 3/8″) around the entire room—including at walls, doorjambs, and cabinets—the expanding floor will have nowhere to go. It will press against a fixed object and buckle upwards, often pulling planks apart in other areas of the room. For very large installations of SPC flooring, technical experts at Utopeco even specify that T-molding expansion joints should be used every 5-8 meters to manage this movement and ensure long-term flooring stability.[7]
The Stability Blueprint Part 1: A Pre-Installation Checklist for a Gap-Free Floor

Prevention is always the best cure. Whether you are a DIYer or hiring a professional, use this checklist to guarantee a perfect, gap-free installation from day one. A great installer will do these things automatically, but it’s your investment—verify they are being done.
Before your installer begins, ask them these five questions:
- How will you verify my subfloor is flat to within 3/16″ in 10 feet?
- How long do you plan to let the flooring acclimate in my home?
- What specific underlayment are you using, and why is it right for this flooring?
- What size expansion gap will you be leaving around the perimeter?
- How will you ensure the locks are fully engaged during installation?
Step 1: Acclimation – The 48-Hour Rule
Flooring that has been stored in a cold warehouse or a hot truck has a different temperature and moisture content than your home. If you install it immediately, it will expand or shrink dramatically after it has been locked together, causing buckling or gapping. As recommended by flooring authorities like Wood and Beyond, you must let the unopened boxes of flooring sit in the installation room for at least 24-48 hours.[8] This allows the planks to acclimate to your home’s unique environment, ensuring minimal movement after installation.
Step 2: Subfloor Preparation
This is the most critical step for long-term flooring stability. The subfloor must be:
- Clean: Scraped and vacuumed free of all debris, drywall mud, and old adhesive.
- Flat: Checked with a 10-foot straightedge and corrected to meet the “3/16 inch in 10 feet” rule. High spots on wood subfloors can be sanded down; low spots on any subfloor can be filled with a self-leveling compound.
- Dry: Ensure there are no active moisture issues, especially on concrete slabs.
Step 3: Installation Technique – The Perfect Click
Engaging the lock properly is essential. A partially engaged lock is a future gap waiting to happen. Installers should use a tapping block and a soft-faced mallet to gently tap the planks together on both the long and short sides. This ensures the locking profile is fully seated without being damaged. You should see no visible gap or “peak” at the seam. A properly engaged lock will look perfectly flush and seamless.
The Stability Blueprint Part 2: Your Diagnostic & Repair Guide for Gaps
If you’re already dealing with frustrating gaps, don’t despair. Here is a tiered guide to fixing them, starting with the easiest methods first.
Troubleshooting Flowchart:
- Is the gap at the end of a plank (short side)? -> This is the most common issue. Proceed to Method 1.
- Are there multiple gaps along the long side of planks? -> This could be a larger expansion/contraction issue. Try Method 1, but be prepared for Method 2 or 3.
- Does the floor feel bouncy or spongy near the gap? -> This points to a subfloor or underlayment issue. A repair may be temporary; the root cause must be addressed.
- Is the edge of the plank at the gap visibly damaged or chipped? -> The lock is likely broken. Proceed to Method 3.
Method 1: The Non-Invasive Fix (Tapping and Suction Cups)
For simple gaps caused by minor shifting, you can often tap them closed without taking anything apart.
- Tapping: Take a small offcut of your flooring and engage it into the groove of the gapped plank. Gently tap the offcut with a mallet to drive the gapped plank back into place.
- Suction Cups: This is a highly effective technique. Use a heavy-duty suction cup handle (like those used for carrying glass). Place it on the plank with the gap, activate the suction, and use a mallet to tap the handle, sliding the plank closed. This provides excellent grip without damaging the plank surface.

Method 2: The Adhesive Assist (When and How to Use Glue)
For a stubborn gap that keeps reopening, a small amount of specialized flooring adhesive can be a solution.
Warning: Using glue on a floating floor can void your manufacturer’s warranty. This should be considered a targeted repair, not a widespread solution. As debated in professional and DIY forums like the Home Improvement Stack Exchange, the technique involves applying a very thin bead of flexible flooring adhesive into the groove of the stationary plank before tapping the gapped plank back into place.[9] Use blue painter’s tape to hold the planks tightly together while the adhesive cures.
Method 3: The Last Resort (Plank Replacement for Broken Locks)
If the tongue or groove of the locking mechanism is physically broken, no amount of tapping will fix it. The plank must be replaced. This is an advanced repair that involves carefully cutting out the damaged plank, preparing a new plank by cutting off the bottom of the groove, and gluing it into place. Given the precision required, it is highly recommended to hire a certified flooring professional for this task to avoid damaging adjacent planks.
The Durability Matrix: Choosing the Best Flooring for High-Traffic Areas
To prevent problems before they start, it’s crucial to choose a material built to withstand your lifestyle. This matrix helps you select the most durable flooring for high traffic areas.
| Performance Metric | Porcelain Tile | Luxury Vinyl Tile (LVT) | Laminate |
|---|---|---|---|
| Scratch Resistance | Excellent (PEI 4-5): Resists scratching from pets, furniture, and grit. | Good to Very Good: Depends heavily on the wear layer. Look for 20 mil or thicker for high traffic. | Very Good (AC4-AC5): The aluminum oxide topcoat is extremely hard and scratch-resistant. |
| Water Resistance | Excellent: Fully waterproof. | Excellent: Core is fully waterproof. Ideal for kitchens, baths, and basements. | Fair to Good: Water-resistant, but standing water can damage the HDF core over time. |
| Stain Resistance | Excellent: Non-porous surface resists almost all stains. | Very Good: Protective topcoat makes cleanup easy. | Very Good: Resists most common household stains. |
| Cost (Material Only) | Medium to High | Low to Medium | Low to Medium |
Understanding the Ratings:
- PEI Rating (Porcelain Enamel Institute): This rates a tile’s resistance to abrasion. PEI 4 is for heavy residential/light commercial traffic, and PEI 5 is for heavy commercial traffic. For a busy home, choose PEI 4 or 5.
- AC Rating (Abrasion Class): This rates laminate flooring’s durability. AC4 is designed for commercial use and is excellent for busy homes. AC5 is for heavy commercial use and is virtually indestructible in a residential setting.
- Wear Layer (LVT): This is the most critical factor for LVT durability. It’s a clear top coating measured in mils (thousandths of an inch). A 6-12 mil layer is fine for bedrooms, but for high-traffic areas with kids and pets, a 20 mil wear layer (or thicker) is essential.
Frequently Asked Questions (FAQ) About Flooring Stability
Can heavy furniture cause floating floors to separate?
Yes, indirectly. Very heavy items like kitchen islands, large bookcases, or pool tables can “pin” the floor down in one spot. This prevents the entire floor from expanding and contracting as a single unit, which can lead to gaps or buckling in other areas.
Are engineered hardwood floors more stable than solid hardwood?
Yes. Engineered hardwood is constructed in cross-grained layers, much like plywood. This construction makes it far more dimensionally stable than a solid piece of wood, meaning it expands and contracts less with changes in humidity. This makes it a better choice for installation over concrete slabs or in basements.
Will the gaps close on their own when the season changes?
Sometimes, minor seasonal gaps that appear in dry winter months may close up during more humid summer months. However, you should not rely on this. Gaps that are the result of installation errors (like a failed lock or an uneven subfloor) will not fix themselves and will likely worsen over time.
Is plank separation covered under flooring warranties?
Almost never. Flooring warranties typically cover manufacturing defects in the product itself (e.g., delamination of the wear layer). Gapping, separation, and buckling are overwhelmingly considered to be the result of improper installation or site-related issues (like an uneven subfloor or lack of expansion gaps), which are explicitly excluded from nearly all manufacturer warranties.
Conclusion: Build a Floor That Lasts a Lifetime
Achieving an unyielding, gap-free floor is not about finding a magic product; it’s about respecting the floor as an integrated system. As we’ve shown, the secret to lifelong stability lies not just in the plank you choose, but in the meticulous preparation of the subfloor, the selection of the correct underlayment, and the precision of the installation. Proper installation is the single most critical component in your floor’s long-term success.
By understanding the science of stability and the anatomy of failure, you are now empowered to make informed decisions. You have the expert blueprint to prevent problems before they start and to intelligently diagnose and repair them if they appear. You can now build or manage the construction of a floor with the confidence that it is truly built to last.
Ready to build a floor with lifelong stability? Explore our Adamantine Flooring collection, engineered with an unyielding plank interlock, or download your free Pre-Installation Checklist to guarantee a perfect result.
Disclaimer: The repair methods and installation advice provided are for informational purposes. Always consult your specific flooring manufacturer’s warranty and installation guidelines before undertaking any work. Professional installation is recommended for best results.
References & Authoritative Sources
- Quest Interiors. (N.D.). Floating Flooring Locking Mechanism: Why It Matters. Retrieved from questinteriorsusa.com/floating-flooring-locking-mechanism-why-it-matters
- Consumer Reports. (N.D.). Best Flooring for a High-Traffic Area. Retrieved from consumerreports.org/home-garden/flooring/best-flooring-for-high-traffic-area-a2992906171
- Garage Gym Reviews. (N.D.). Best Home Gym Flooring. Retrieved from garagegymreviews.com/best-home-gym-flooring
- Flacks Flooring. (N.D.). How to Fix Laminate Flooring Gaps. Retrieved from flacksflooring.com/how-to-fix-laminate-flooring-gaps
- Concrete Masonry and Hardscapes Association (CMHA). (N.D.). PAV-TEC-002: Construction of Interlocking Concrete Pavements. Retrieved from cmha.org/resource/pav-tec-002
- CloudsFlooring. (N.D.). How to Ensure Stability with Luxury Vinyl Plank Movement. Retrieved from cloudsflooring.com/how-to-ensure-stability-with-luxury-vinyl-plank-movement
- Utopeco. (N.D.). How Expansion Joints Keep SPC Flooring Durable & Stable. Retrieved from utopeco.com/support/technology/how-expansion-joints-keep-spc-flooring-durable-stable.html
- Wood and Beyond. (N.D.). What Is Floor Stability & Why It Matters For Long Term Performance. Retrieved from woodandbeyond.com/blog/what-is-floor-stability-why-it-matters-for-long-term-performance
- Home Improvement Stack Exchange. (N.D.). The vinyl plank click flooring I installed in two rooms develops gaps at the end joints. What is the cause?. Retrieved from diy.stackexchange.com/questions/81204/the-vinyl-plank-click-flooring-i-installed-in-two-rooms-develops-gaps-at-the-end